Cut Flower Arranging

There are not many better reasons for growing your own flowers than to create your own cut flower arrangements. With the Rob Smith range of cut flowers you can get creative and not only enjoy flowers in your garden but indoors too. Everyone knows the more you deadhead your flowers, the more the plant will bloom. And My ‘Cut-and-come-again’ flowers are just that. You cut them and they come back again, in the garden, usually in around 2-3 weeks time.
Instead of waiting for the flowers to begin dying before you dead head them, you actually cut the flower at its best. This means you have fantastic blooms to use, and the plant puts all its energy into creating more beautiful flowers for you to ’Cut-and-come-again’.
We’ve Divided Our Range Into Three Types of Cut Flowers for Arranging
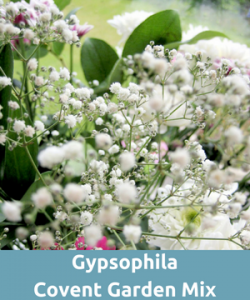
Fillers are the ‘can-can’ girls of the arrangement, they look impressive but they are there to support the Thriller. They also help ‘fill out’ the arrangement and make it look bigger and bolder.


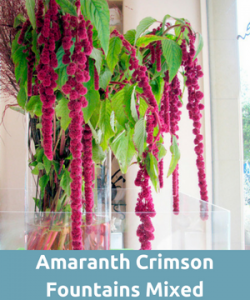
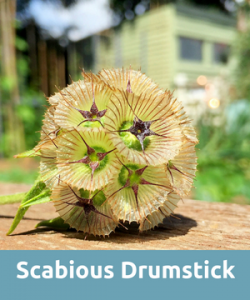
Spillers can either fall away from the main arrangement down the sides, or they can spike up and out of the arrangement. They help create depth to the other flowers and help it feel more natural.


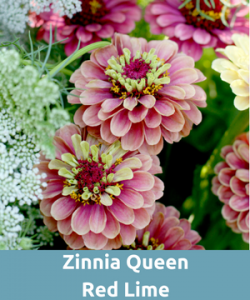
Thrillers are the star of the show, the flower you want to show off and be your centrepiece. One or two of each Thriller, Filler and Spiller can turn a good bunch of flowers into a great arrangement.


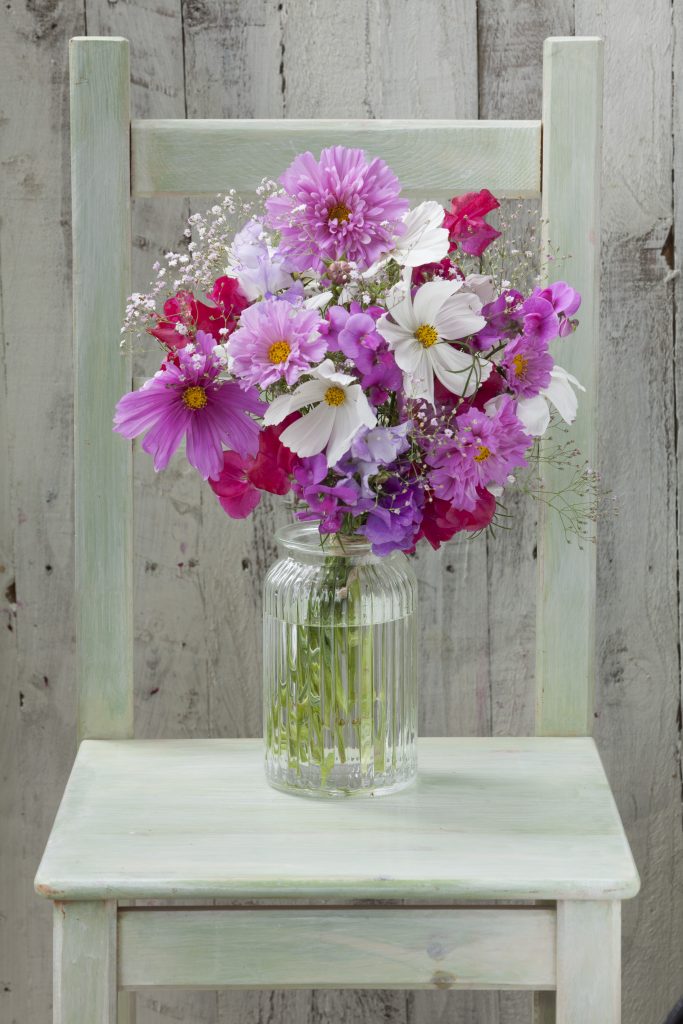
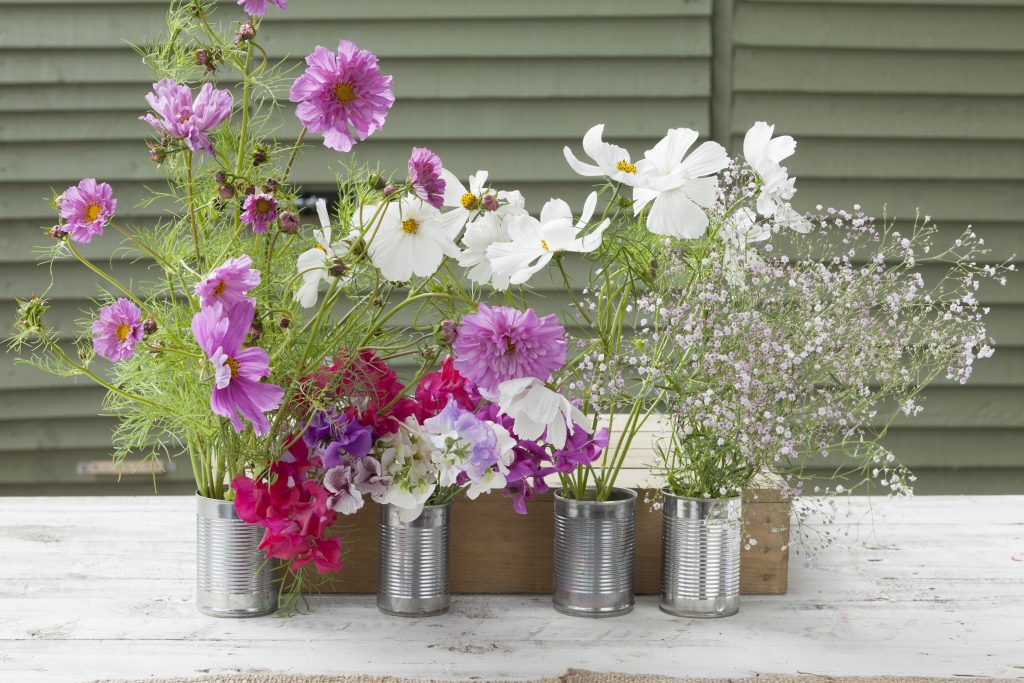
Creating A Cottage Garden Arrangement
To capture the essence of a cottage garden nothing works more than cosmos. With their feathery foliage and beautiful big blooms, they just capture your eye and make you want to look more.
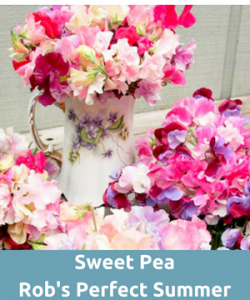
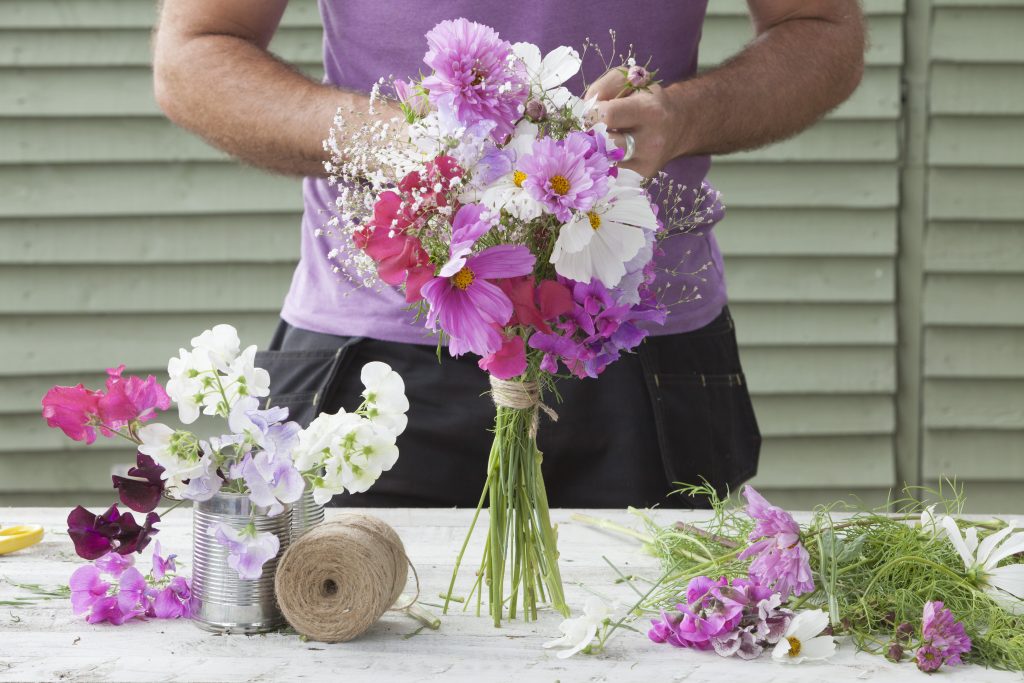
Step 1: I decided to mix pink ‘rose bonbon’ and white ‘apollo F1’ for a classic combination. Then, by adding the simple pink gypsophila from the ‘covent garden mixed’, it really helps lift the arrangement and fill it out. ‘Rob’s perfect summer’ sweet peas, with their heady fragrance and cottage garden appeal, help complete this simple and beautiful summer time bouquet.
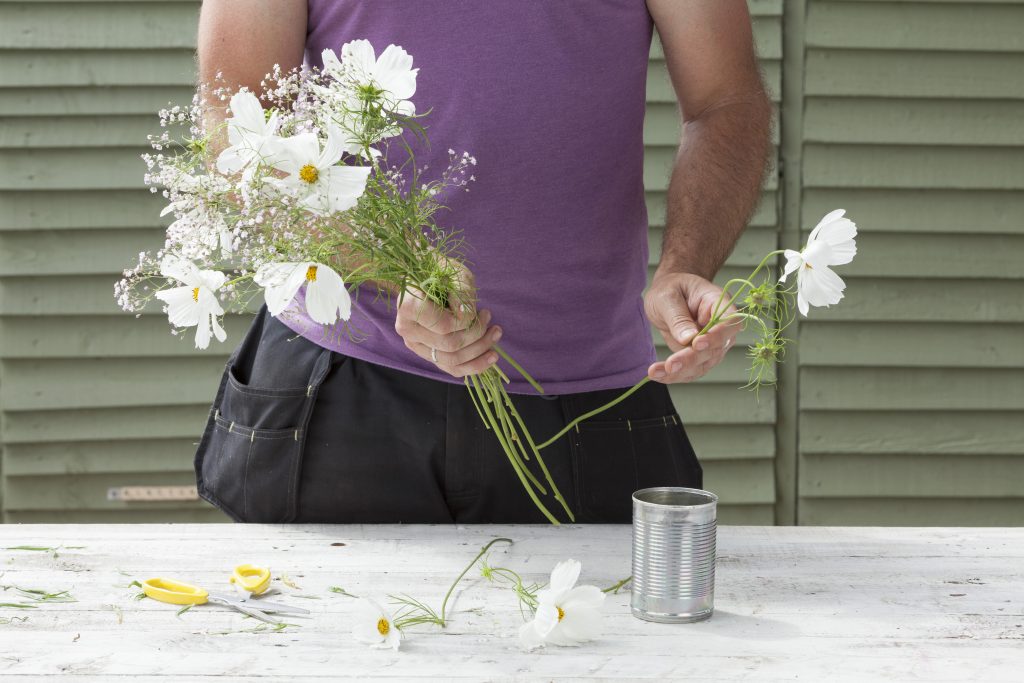
Step 2: Begin building your bouquet by placing one central flower in your hand. Then place a few stems of your chosen ‘Filler’ around the flower, making sure the stems cross.
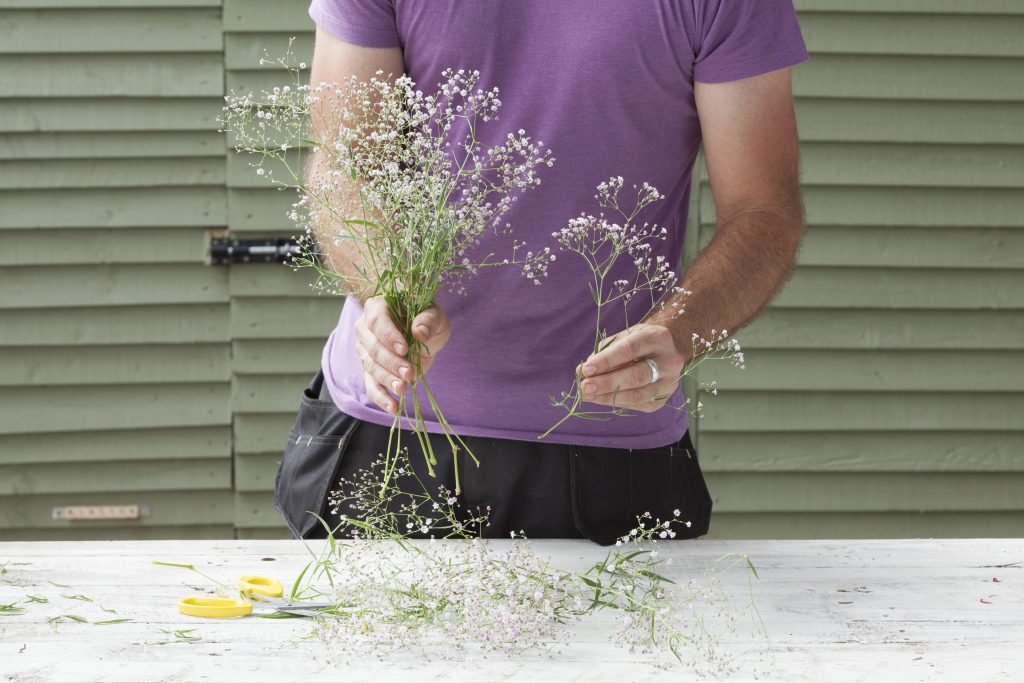
Step 3: Next, surround your filler with a few ‘Thrillers’. Make sure you turn the bouquet as you work, this makes sure it looks even. Continue to add ‘Fillers’ and ‘Thrillers’.
Step 4: Once you have the bouquet the size you want, add your ‘Spillers’ around the edge or the bouquet. Make sure they aren’t too squashed together, they should make the bouquet look more natural and flowing.
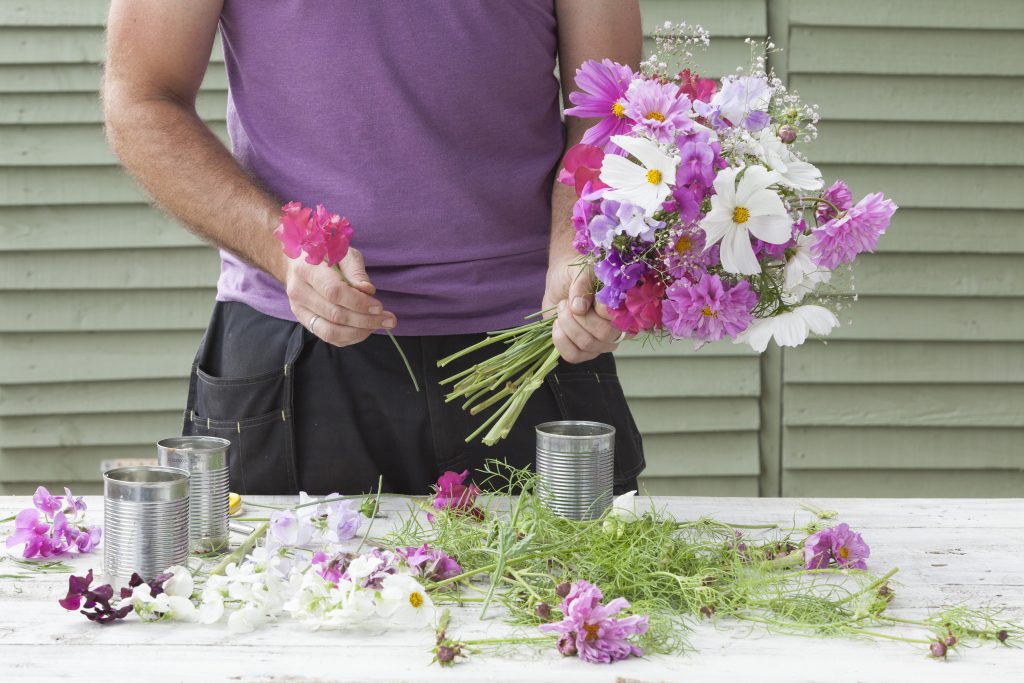
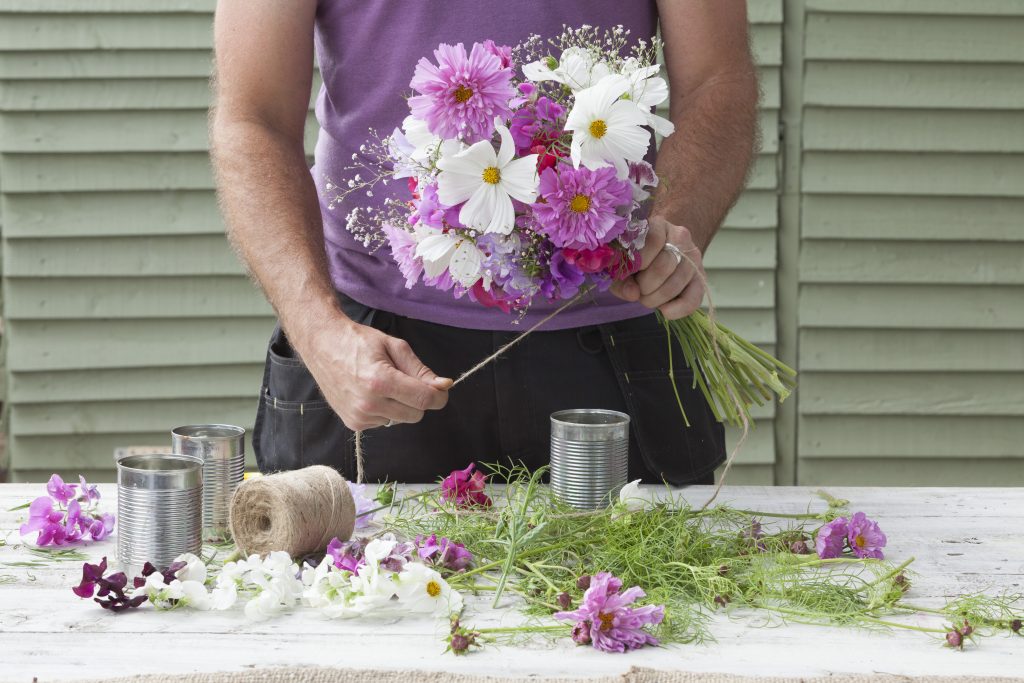
Step 5: Cut all the stems to the same length and bind them where all the stems cross. Make sure to wrap the twine around 2-3 times and tie in a knot.
Step 6: Ta-dah, thats it, a simple summer bouquet!
Place the arrangement in the vase of your choice and enjoy!