Last Updated on July 15, 2025 by the Dobies Horticultural Team
Bulbs are easy to plant and bring vibrant colour to your garden year after year. If you’d like to grow bulbs to brighten up your borders, here’s our simple, practical guide.
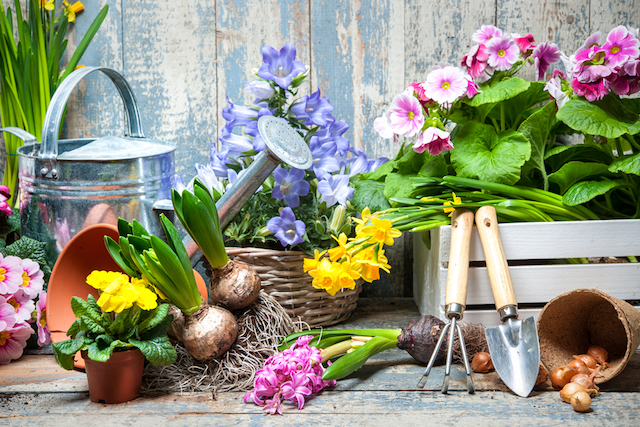
Getting the most from your bulbs
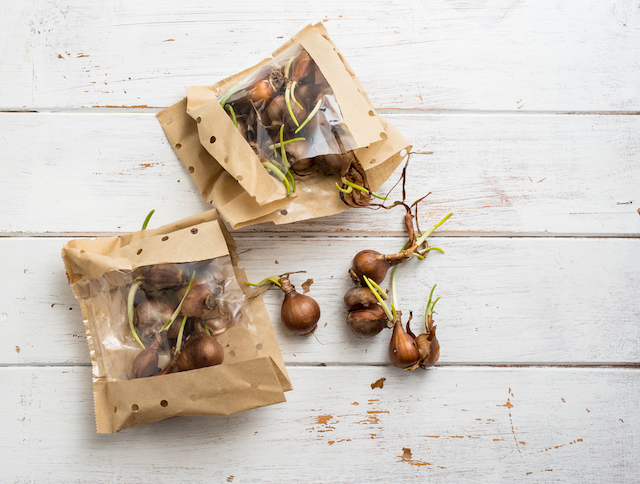
Image: Shutterstock
What we commonly describe as bulbs actually include:
- true bulbs, e.g. daffodils – made up of rings and look like an onion when cut in half
- corms, e.g. gladioli – one solid mass when cut in half
- tubers, e.g. potatoes and dahlias – have ‘eyes’
For the sake of ease we’ll be referring to all of these as ‘bulbs’ during this guide.
If you order bulbs from Dobies, we send them out at just the right time for planting. When you receive them it’s best to plant them as soon as possible, as late planting may result in a reduced flower display.
If you do need to delay planting, make sure you store them in a cool, frost-free place. Open the bag up to allow air to circulate and prevent mould developing.
When to plant bulbs
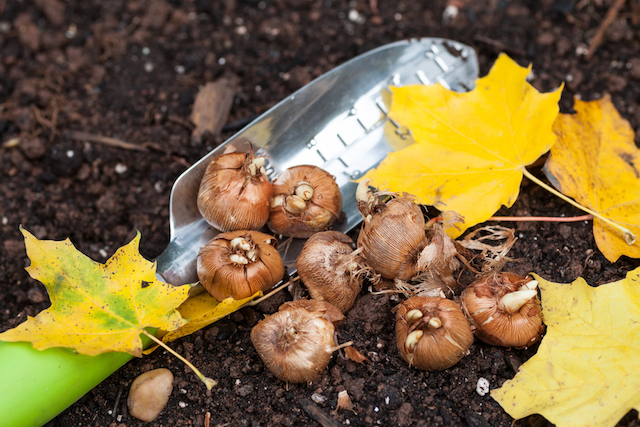
Image: VJ Matthew
As a general rule, plant spring-flowering bulbs, such as daffodils, crocus, tulips, and hyacinths, in the autumn; and summer-flowering bulbs, such as gladioli, begonias, and ranunculus, in the spring. Lilies can be planted in both spring and autumn.
For specific information on when to plant out, check the product descriptions on our website or on your packaging.
Where to plant bulbs
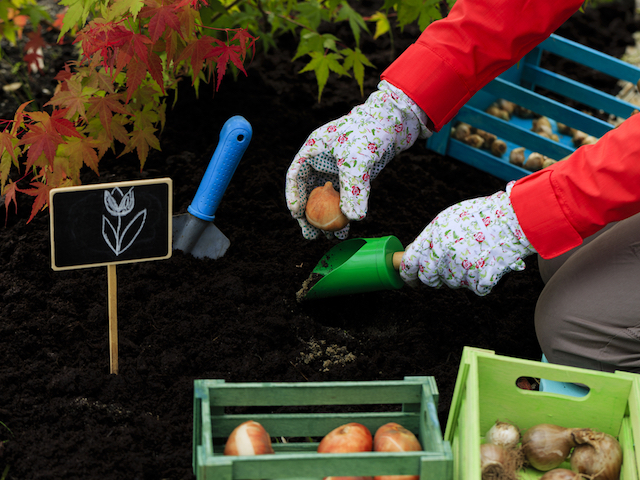
Image: Shutterstock
Most hardy bulbs, like tulips and daffodils, prefer light, free-draining soils because they originally came from countries with dry, warm summers. Woodland bulbs, such as bluebells, lily-of-the-valley and snowdrops, on the other hand, prefer a rich, fertile, reliably moist soil.
It’s well worth improving your soil with some organic matter, such as compost or well-rotted manure. Dig organic matter along with grit to heavy clay soil to improve drainage and help prevent rotting. Add it to sandy soil and it will act like a sponge, holding in moisture. Organic matter will also improve the fertility of your soil over time.
Most bulbs prefer a position in full sun, although woodland varieties generally prefer some shade. Always check individual product descriptions for specific details.
Planting bulbs in the garden
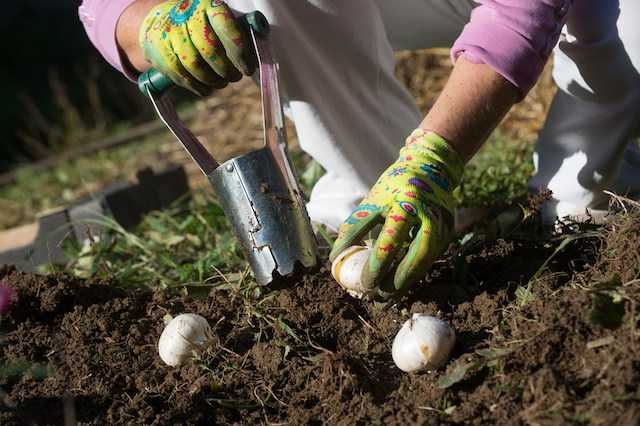
Image: Shutterstock
Bulbs look their best when planted in groups, but you can plant bulbs individually if you prefer. Generally bulbs should be planted at 2-3 times their own depth and 2-3 bulb widths apart.
The easiest way to do this is to dig out a large hole at 2-3 times the depth of the bulbs you’re planting and place them in the hole with the pointed end (growing tip) facing upwards. Cover them with soil again and gently firm in. Watch our video to see how this is done.
Take care not to tread on the soil as this might damage the growing tip of the bulbs. Water the area thoroughly afterwards and make sure that you mark the spot where they’re planted so you know exactly where they are.
Hardy bulbs such as daffodils, crocus and tulips can be left in the ground over winter and they will return the following year. Summer-flowering bulbs will need to be lifted before winter (see ‘Lifting bulbs’ below).
Planting bulbs in containers
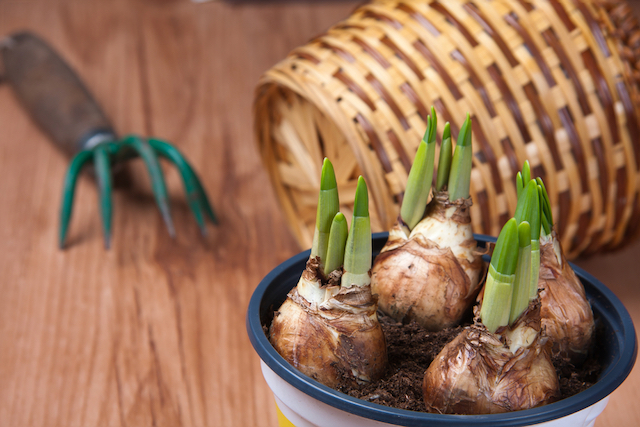
Image: Shutterstock
Most bulbs will happily grow in containers. To get the best out of yours, use multi-purpose compost and incorporate some grit to ensure good drainage.
Half fill your container with compost, leaving enough space to plant bulbs at 2-3 times their own depth. Plant your one bulb’s width apart. It’s fine to plant them closer together in containers for a fuller display. Cover with more compost and and gently firm down and water thoroughly.
The exception here is when you’re planting begonia tubers. In this case, plant the tubers at the soil surface with the indented side of the tuber facing up. Our video (below) shows how to do this.
If you want a longer-lasting display, make the most of your container by layering different bulbs like a lasagne. Start with the biggest, latest-flowering bulbs at the bottom. Add a layer of compost and then plant smaller, earlier flowering bulbs on top. Finish off with a covering of compost and gently firm down.
Water your bulbs regularly when they’re actively growing and reduce watering when the leaves start to die down (but don’t let the compost dry out completely). You’ll also need to feed your container bulbs with a high potash feed, such as tomato fertiliser, once shoots appear. Feed regularly as per the instructions on the fertiliser until the leaves start to die down at the end of the season.
Lifting bulbs
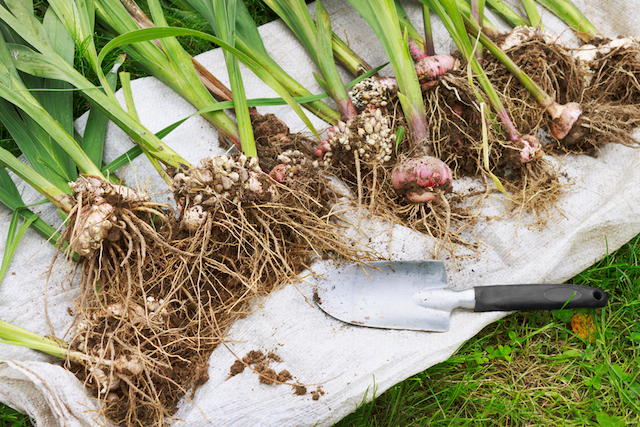
Image: Shutterstock
Summer-flowering bulbs such as gladioli, begonias and ranunculus will need to be lifted as they may not be frost-hardy and/or may require a dry period during winter.
Once foliage has died down, carefully lift your bulbs. Gently clean them and check for damage and disease, discarding any that don’t pass muster. Trim back the roots of your keepers.
Dry your bulbs on a tray for 24 hours to prevent rot developing and then store them in labelled nets or paper bags in a cool, dry place.
To make lifting your bulbs easier, plant them into bulb baskets and bury the whole basket where you would like them to flower.
Of course, if you want to know how to get colour in the colder months, check out our article on forcing spring bulbs for winter blooms!
Lead image: Shutterstock