Last Updated on March 11, 2026 by the Dobies Horticultural Team
So, you have just ordered an exciting new variety of plants and veggies, but there are a few steps we need to consider from the get-go to achieve the healthiest and most thriving plants possible.
First things first, once you receive your order of specially selected Dobies plants, please remove your plants from the packaging immediately. Make sure that the current compost is adequately moist and if it feels a little dry, water as necessary.
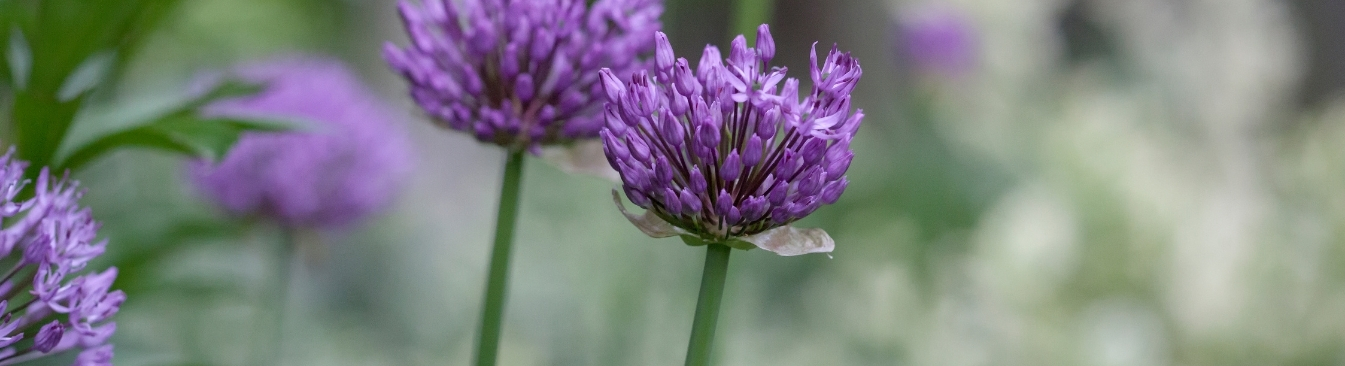
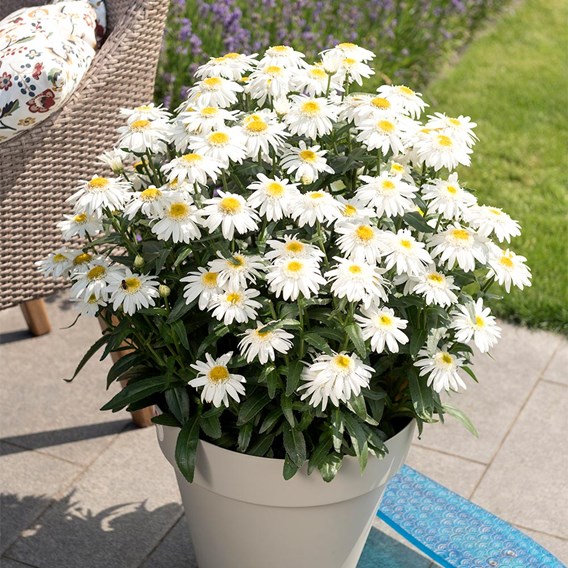
Planting Dobies Perennial Plants
There is no time to waste because your chosen perennial plants can be planted out in the garden or down the allotment straightaway. Choose a free draining, moisture retentive soil and dig over the area. If you incorporate garden compost or other well-rotted organic material, this will help retain moisture, which is especially important on light, sandy soils. Rake in a general fertilizer such as Growmore or Bone meal prior to planting.
Take out a hole large enough to accommodate the root ball so that the top is level with the compost surface. Fill in around the roots with soil or a mixture of soil and potting compost, firming as you go. Water the plants immediately after planting to settle the soil around the roots. It is important to keep the plants well watered during dry spells.

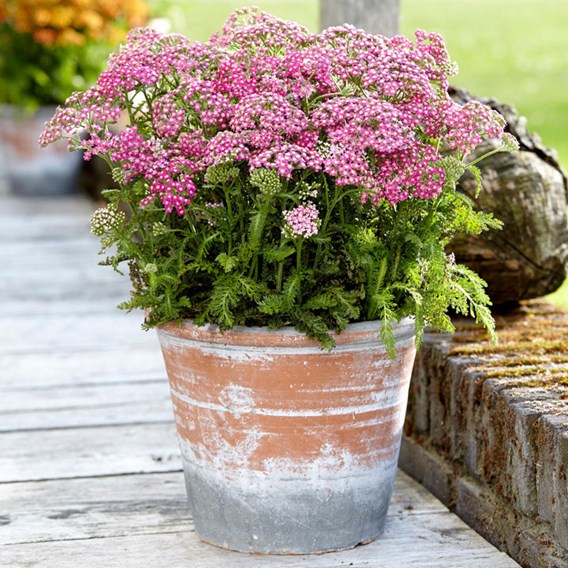
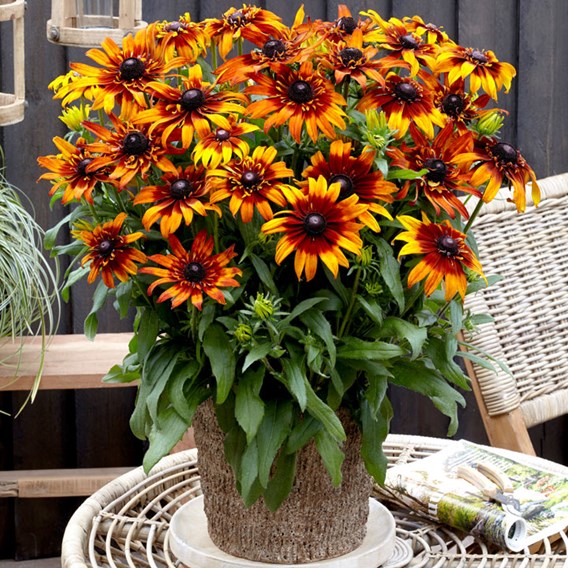
Planting Dobies Potted Annual Plants
The potted plants are ready to be planted directly into their final position. These are a terrific way to add interest and focus to your garden, especially if you only have a small outdoor courtyard or patio. Fill your baskets, tubs and containers with a quality potting compost and incorporate water storage crystals and a slow release fertiliser if available.
Remove the pot and plant ensuring the root ball is covered with compost. Water the plants immediately after planting to settle the soil around the roots. It is important to keep the plants well watered during dry spells and feed on a weekly basis. Regularly remove faded flowers to encourage further flower production.
It’s important to follow a few simple routines to care for them correctly. This ensures the best displays throughout the summer months. Choose the position for your plant pot according to the plants that are in it. Many like a spot in full sun that’s sheltered from winds, but others prefer a shadier place. So be sure to check the label!
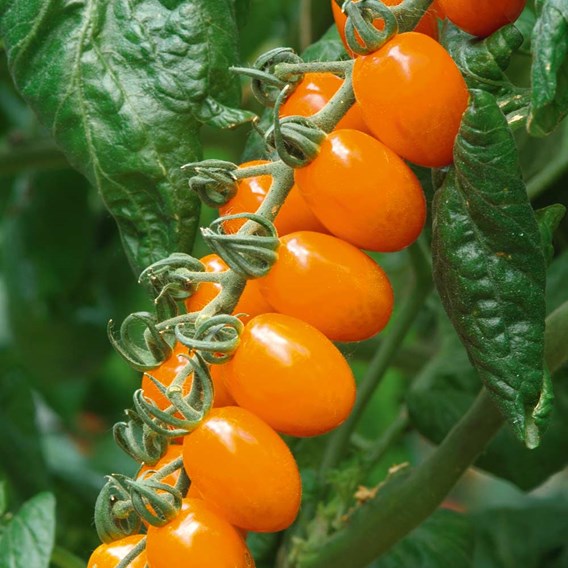
Try Our Grafted Tomatoes
Our selection of Tomato plants includes a variety of grafted tomato plants. Our grafted range is selected for and best suited to greenhouse culture but will also thrive outdoors in most summers. They bring classic veg with something new to the plot, but have been grafted by hand to produce up to 75% more crops which fruit much earlier and for longer. Plot to plate will happen sooner than ever before!
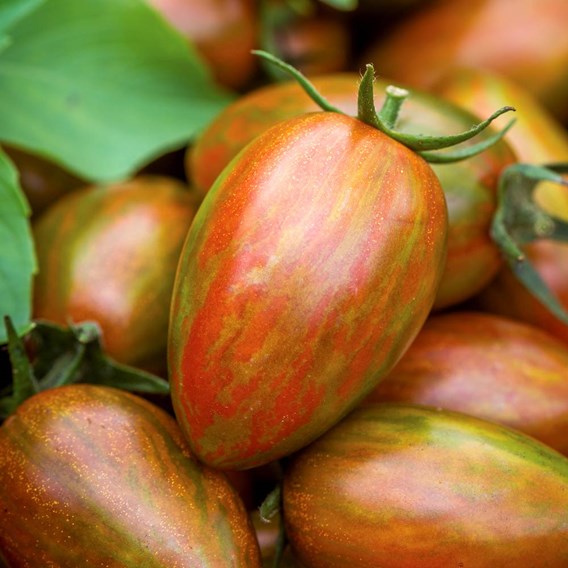
The root systems of these plants have great vigour and should be given plenty of room. This will help the plants are to achieve their full potential. When planting, always ensure that the graft union is kept above the soil level. This will prevent the scion from rooting into the soil and reducing the plant’s resistance to soil borne diseases.
If they are to be grown indoors, a deep pot no smaller than 30cm (12″) is reccomended. Alternatively, they can be planted directly into the greenhouse soil. This is because the modern rootstock used has increased resistance to soil borne diseases. (Note that most grow bags are unlikely to afford the root space for best results). If growing outside plant 60cm (2′) apart. Support the plants from the outset with canes tying in the main stem regularly. Vigorous growth can be expected and great care should be taken to prevent plants from drying out, moderate
regular watering is the best practice. Once the fruits start to set a quality tomato fertiliser should be applied twice a week.
If possible, the greenhouse should be lightly shaded to avoid exposure to strong sunlight. In hot, sunny weather damp down the floor to increase the humidity. Misting the plants with water will aid fruit setting, which is best carried out around midday. But, do not spray the foliage under strong direct sunlight or on cool, dull days.
The root systems of these plants have great vigour and should be given plenty of room if the plants are to achieve their full potential. When planting, try to always ensure that the graft union is kept above the soil level to prevent the scion from rooting into the soil and reducing the plant’s resistance to soil borne diseases.
The side shoots which appear at the leaf joints should be pinched out when they are about 2.5cm (1″) in length. Under normal greenhouse conditions, these plants are capable of setting and maturing six to eight trusses. This depends on the size of fruit and you will be able to harvest more tomatoes if you do not remove the growing tip at the three to four truss stage.
In commercial greenhouses, these vigorous plants will produce in excess of 20 trusses of top-quality fruit. As the fruits ripen, just pick as required. Try to remember, the finest flavour will be achieved if tomatoes are allowed to mature fully whilst still on the plant.
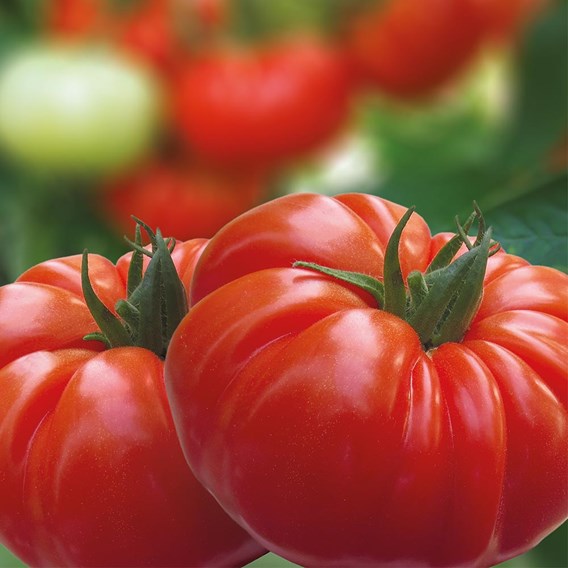
Tomato Seeds – Hundreds & Thousands
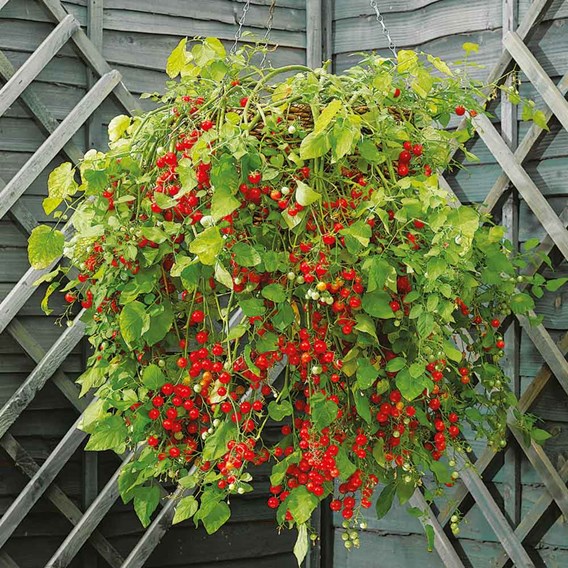
You’ve got to grow it from seed, but Hundreds and Thousands are perfect for baskets, window boxes, or raised patio containers. They are vigorous, easy-to-grow, cascading plants that live up to their name, producing literally thousands of sweet, juicy, bite-sized tomatoes throughout the whole summer.
Plant this vigorous bush variety individually into a 35cm (14″) basket or container, or three plants to a 40cm (16″) basket. Keep your Hundreds and Thousands plants well watered and once the fruit starts to set feed twice a week with quality tomato fertiliser. The plants are easy to grow as they do not require stopping or the removal of side shoots.