Last Updated on March 11, 2026 by the Dobies Horticultural Team
While we are spending more time at home and in our gardens, this makes the ideal time to get our hands dirty and get ahead with gardening projects in our spare time. No matter how big or small your garden tasks might be, we are going to provide a mix of jobs you could get busy with today. This will hopefully give you additional insights into making the best out of your outdoor living spaces.
A Happy Garden is a Happy Mind
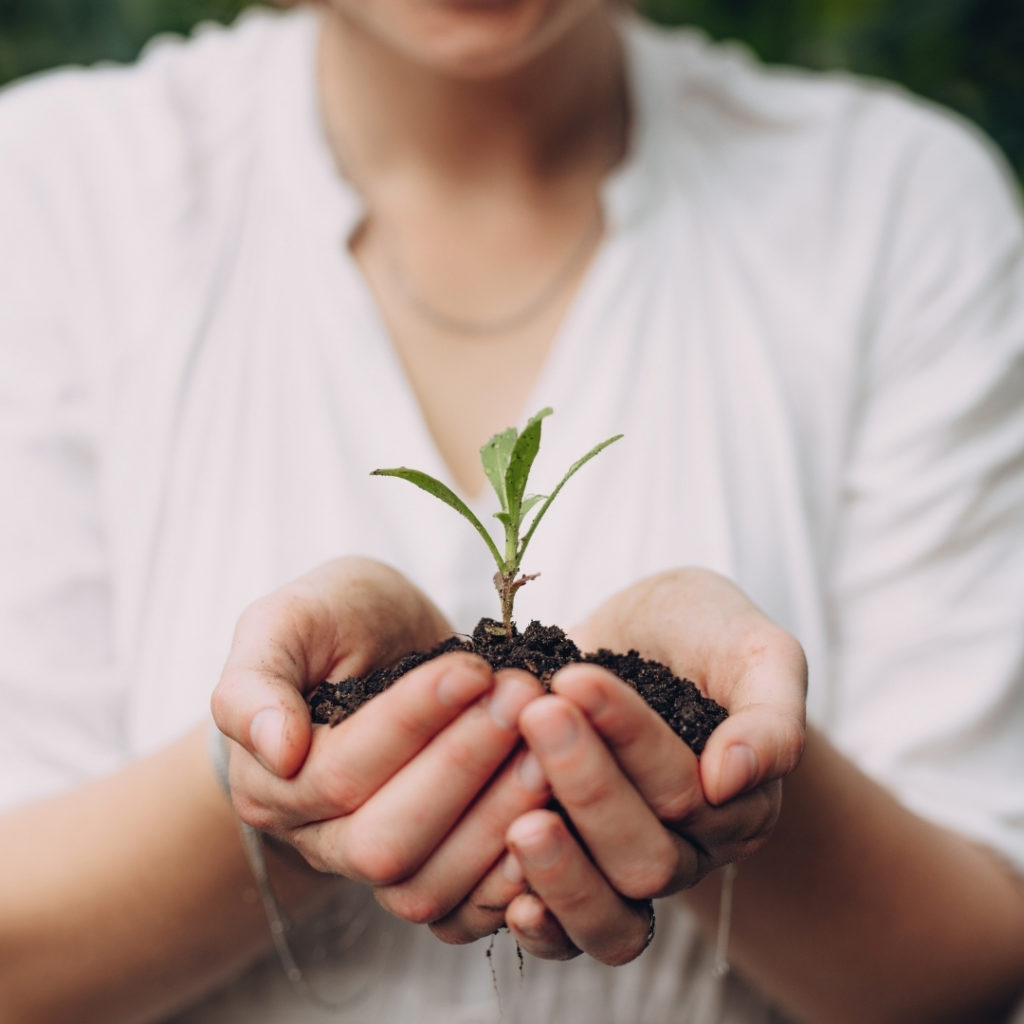
Before we get stuck into our lockdown garden projects, there are positives to be found by just staying at home and being in the garden. This is because having a garden you love can bring a wealth of health benefits during unsettling times. For the avid gardener, this is the golden opportunity to do what you enjoy all day long. And for the beginner gardener, it is a great time to get yourself involved in all the garden galore.
Alongside other physical exercises, relaxation and educational activities, gardening, or arguably gardening DIY, does it all and connects you back with the beauty of nature. Here’s a list of just a few of the great health benefits:
Grow your self-esteem – If you helped a flower grow, what else can’t you do?
Get fit – Lifting those heavy spades and plant pots will see bicep gains and calories burnt.
Reduce stress – Put your mind into something else and help your plants thrive instead.
Be happy – Put a spring in your step and serve up your own fruit and veg. There’s no better feeling than having a garden you have brought back to life.
But before you get stuck in, it’s an idea to slow down and take it all at your own pace. If you’re unsure of where to start, tackle those put-off garden tasks first. Give yourself a fresh canvas to start off with before you get planning, get planting and get producing a wonderful garden display.
Hanging Gutter Garden

You can pretty much grow anything in any kind of container if you look after your crops well and give up it what it needs. However, a super cheap and easy container is in fact gutters. They don’t break the bank and easy to source while being super strong and reliable in all kinds of weather.
One of the best things about gutter gardening is that it works for gardens and home with very limited outside space. All you need is a gutter and a steady outdoor wall or a strong fence will do. It’s great to grow your own fruit, veg and flowers albeit on a small scale too.
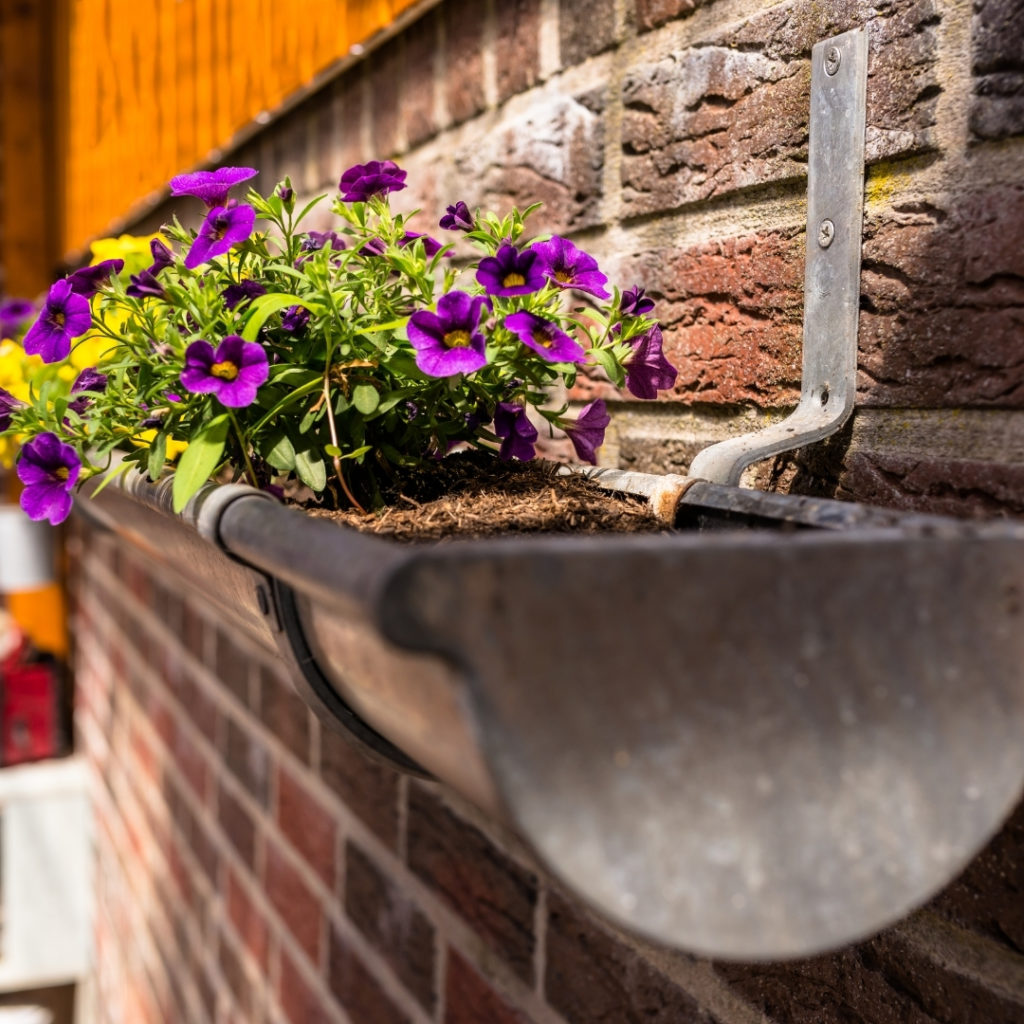
Gutter gardening is what it says on the tin, it allows you to garden in recycled gutters of all sizes and saves on space. This is necessarily a new upcoming way of gardening, but it’s definitely a fantastic lockdown project if you have a small space garden. Or, just have spare old gutters lying around and you fancy getting busy outdoors.
What To Do
Step 1: Gather your lengths of guttering and drill a few drainage holes along the base of each piece.
Step 2: Attach to your desired wall with brackets and strong fixings. Your gutter garden might become pretty heavy so the strong brackets are a must!
Step 3: Fill your gutters with peat free compost and get cracking with sowing!
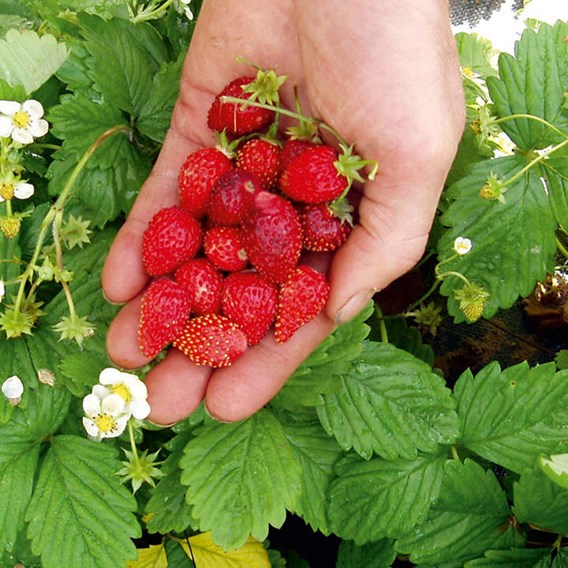
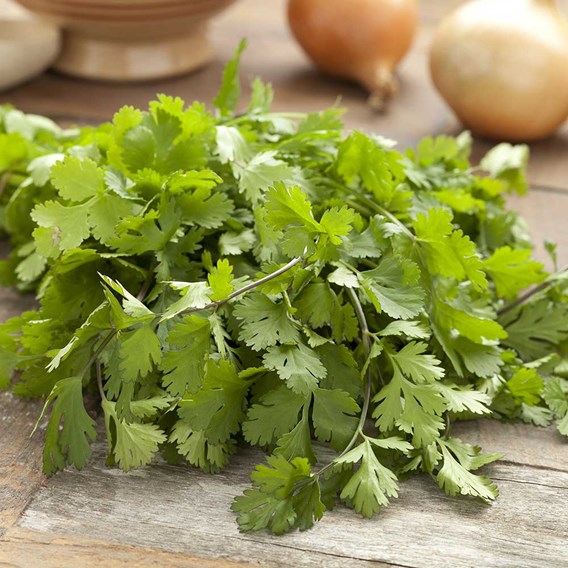
Remember: You might not be able to grow a large mound of potatoes in these gutters, but they are perfect for some varieties of small flowers, cacti, strawberries, salads and herbs.
Here’s a selection below that will hit the ground running!
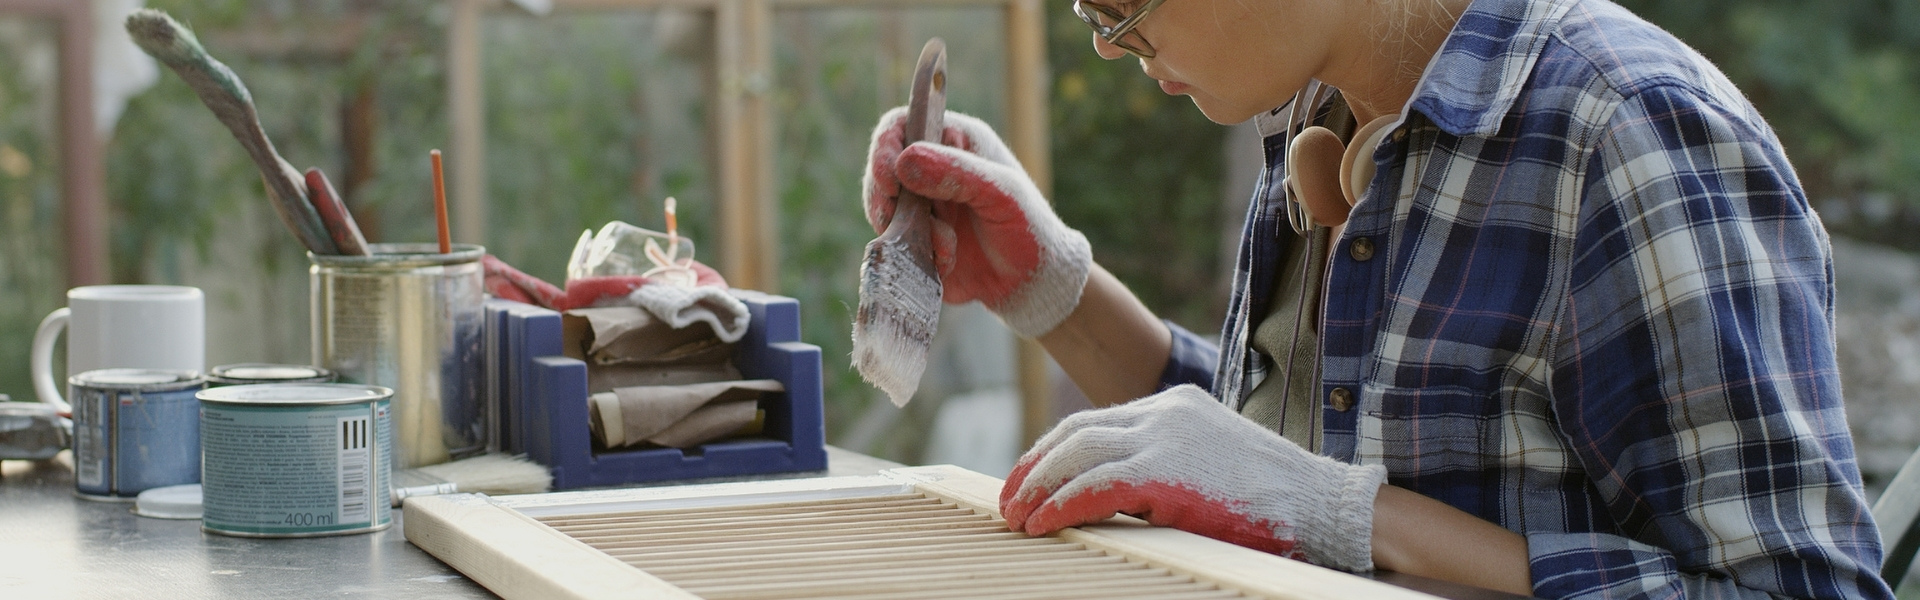
Make Your Own Raised Beds with Wooden Pallets
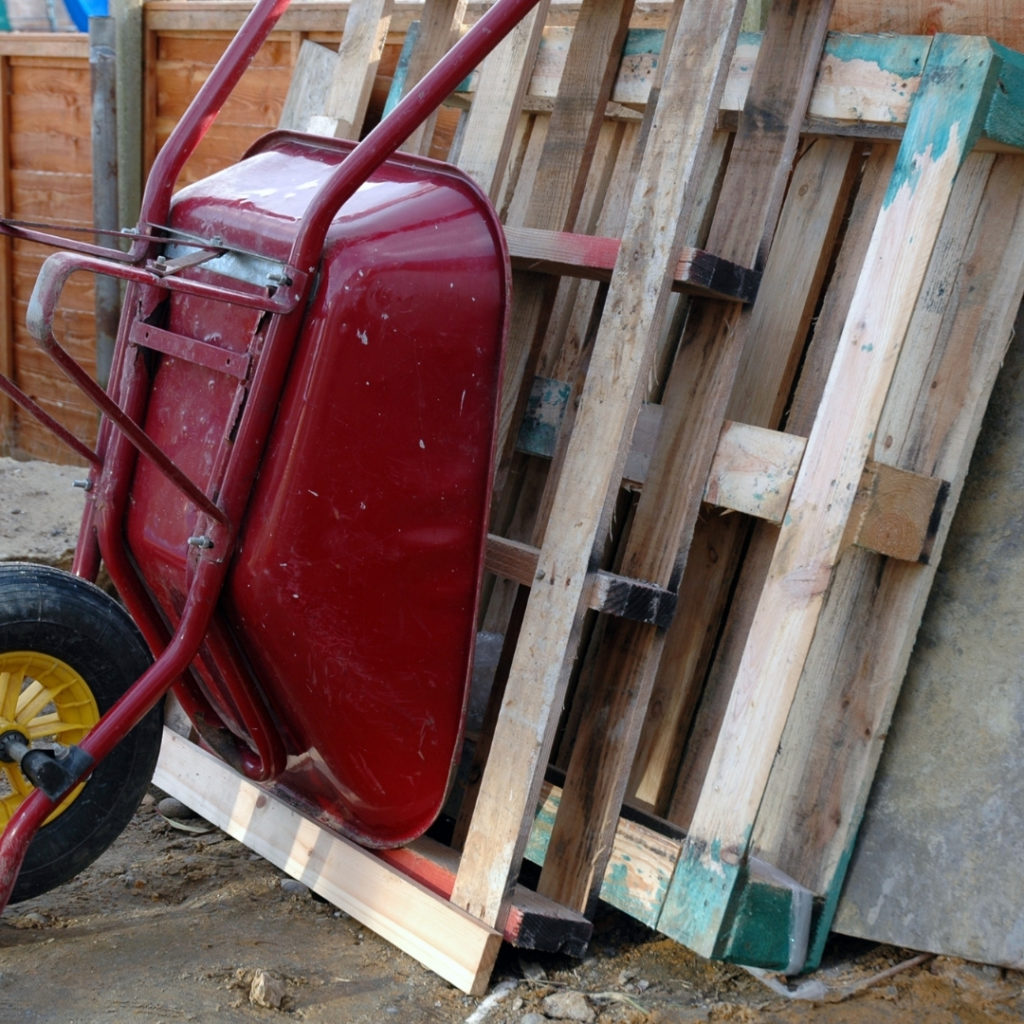
Have you ever wanted to build your own raised bed? or felt like you can do something with your old wooden pallets laying around? You can of course buy raised beds, but building your own is cost-effective and actually super easy. You can build one with nails, tools and wooden pallets in no time.
Step 1: Collect your materials, equipment & tools. You will need a pile of pallets, the amount depends on how large you would like your raised bed to be. However, four large pallets per side are usually fine. In regards to tools, you will need a hammer, handsaw, screwdriver, nails (2/9″) and a pair of pliers.
Step 2: Get your wood ready. If your pallets are nailed together, take them apart with your screwdriver or hammer and remove all nails/stapes so you have a flat surface to work from. Make sure you have enough of the pallets at the right size you would like your raised bed. You will also need some smaller chunks of wood to attach to the inside of each corner in the bed for support.
Step 3: Transform your pallets into sides. Arrange your pallets into the shape your desire and use the smaller pieces to make the sides/corners. Hammer 2 – 3 nails for each pallet on each side. Do this on all four sides.
Step 4: Create your finished raised bed. Standing your pallets perpendicular to each other and hammer them together. Make sure your nails line up to the solid part of the wood on the thin side and you use at least three nails per side. The final result should look something like this.
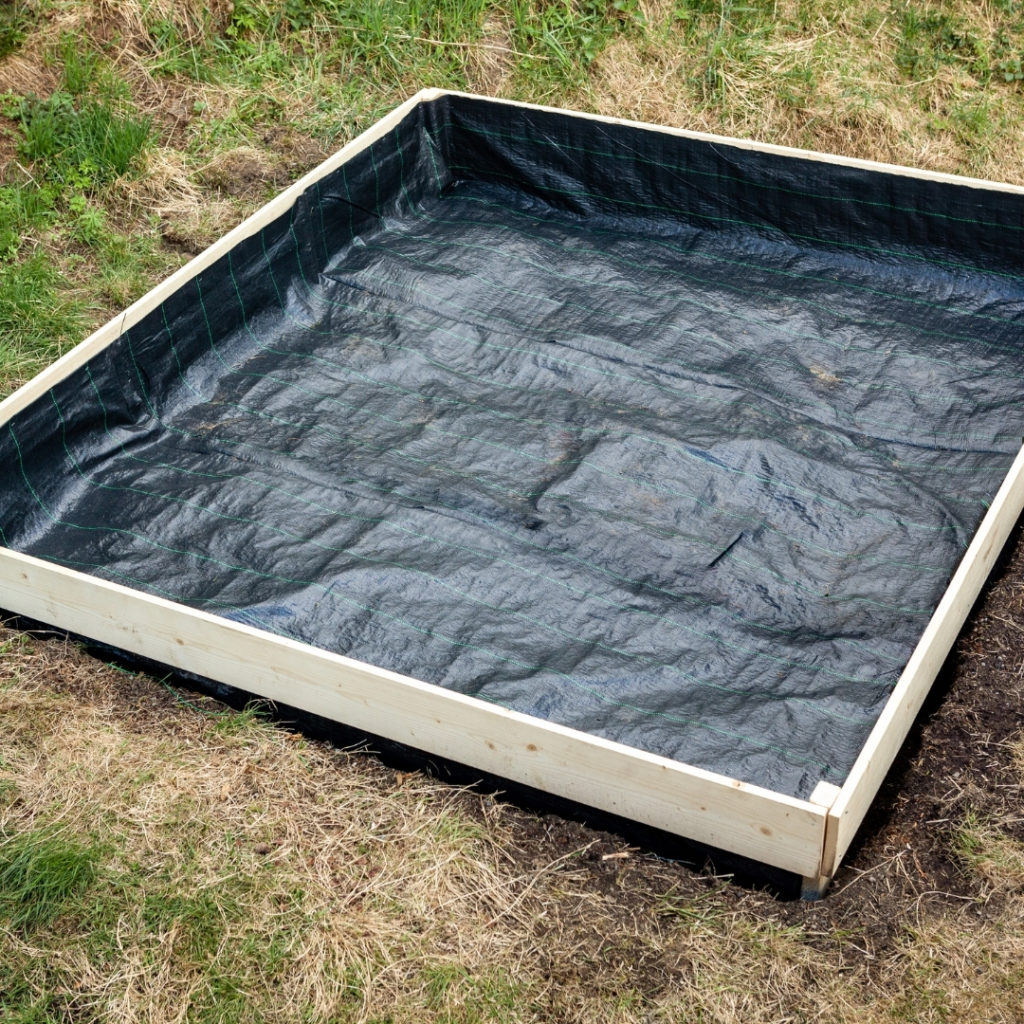
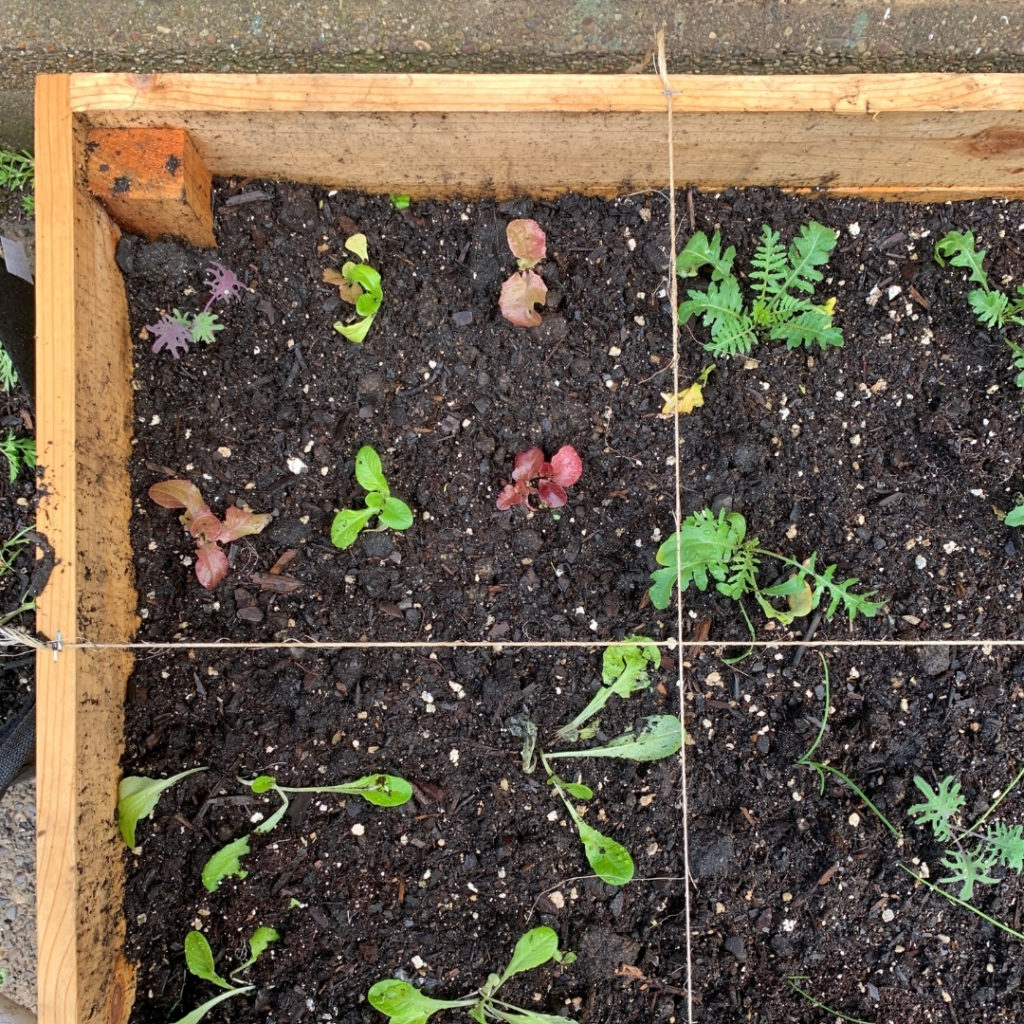
Enjoy your raised bed and fill with veg and flowers!
If you would prefer to purchase you raised bed, check out our selection below!
Upcycled Flower Bed
This project follows from creating your own raised bed, but is more about food for thought than a step by step guide. Have you got a ‘container‘ of some sort lying around? I say container in a way that is self-explanatory because a flower can grow in virtually any form of a container if you look after it properly and give it what it needs.
Here’s some examples – you can really think outside the box!
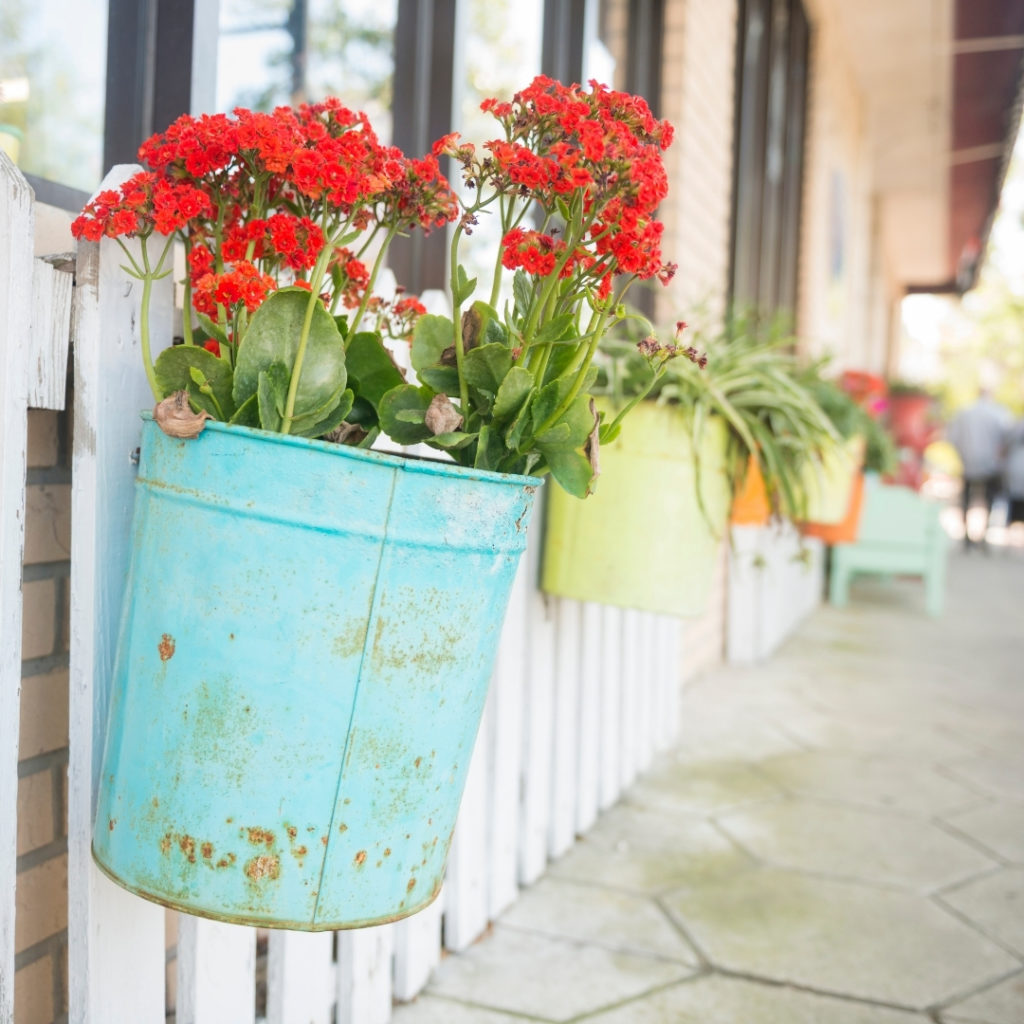
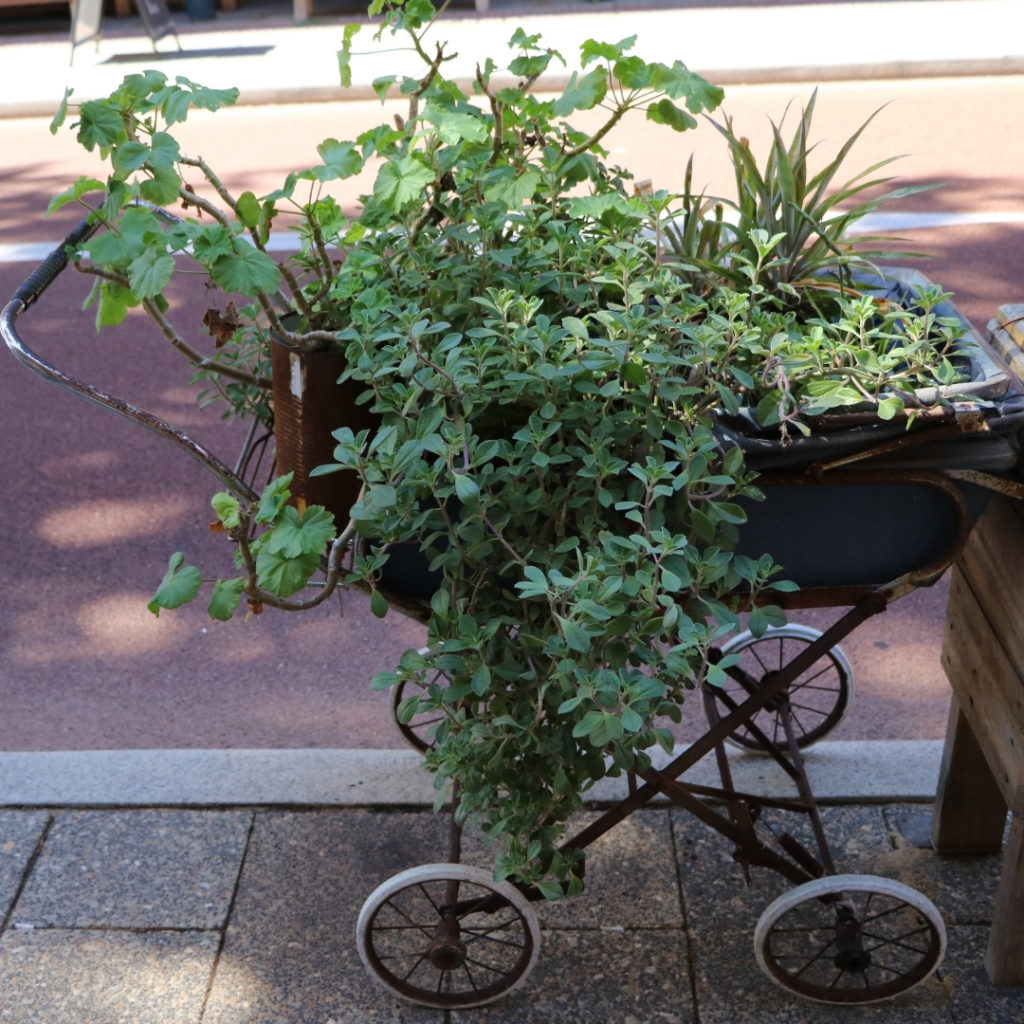
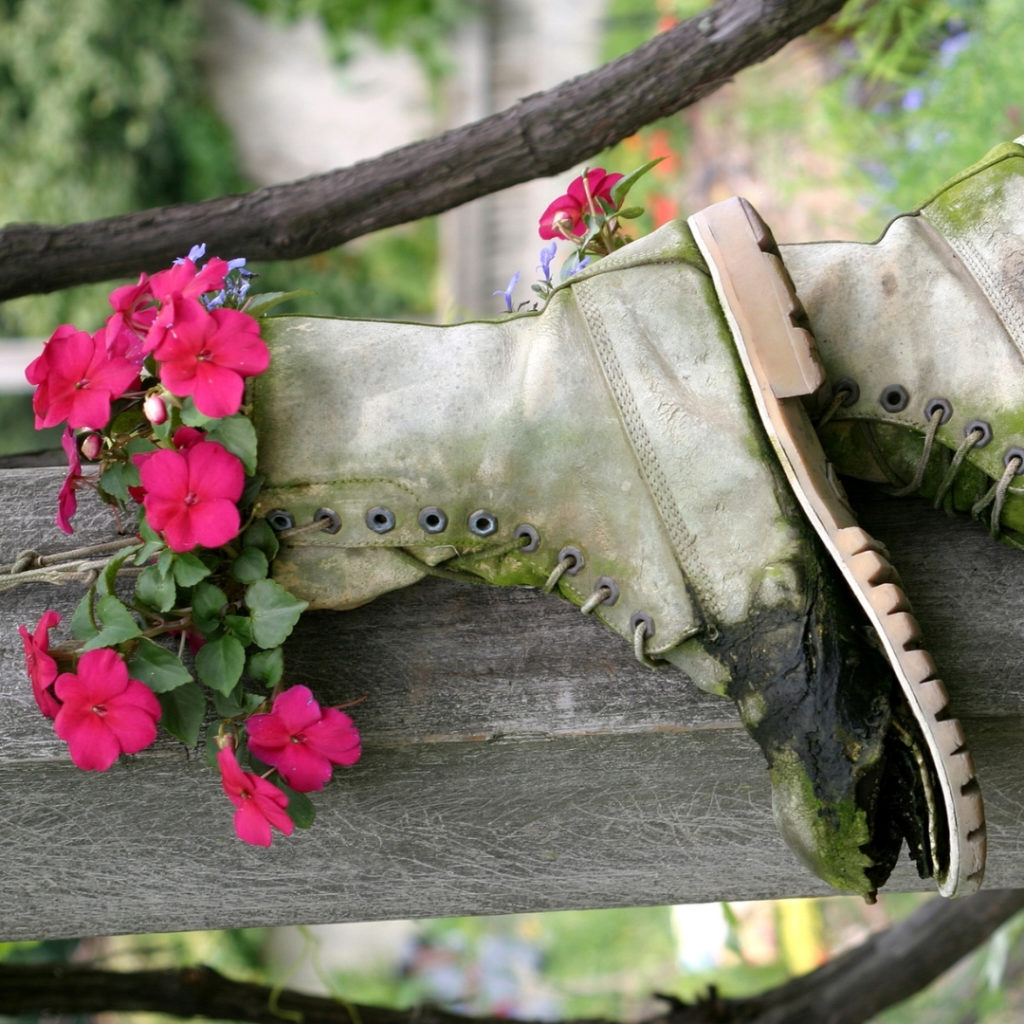
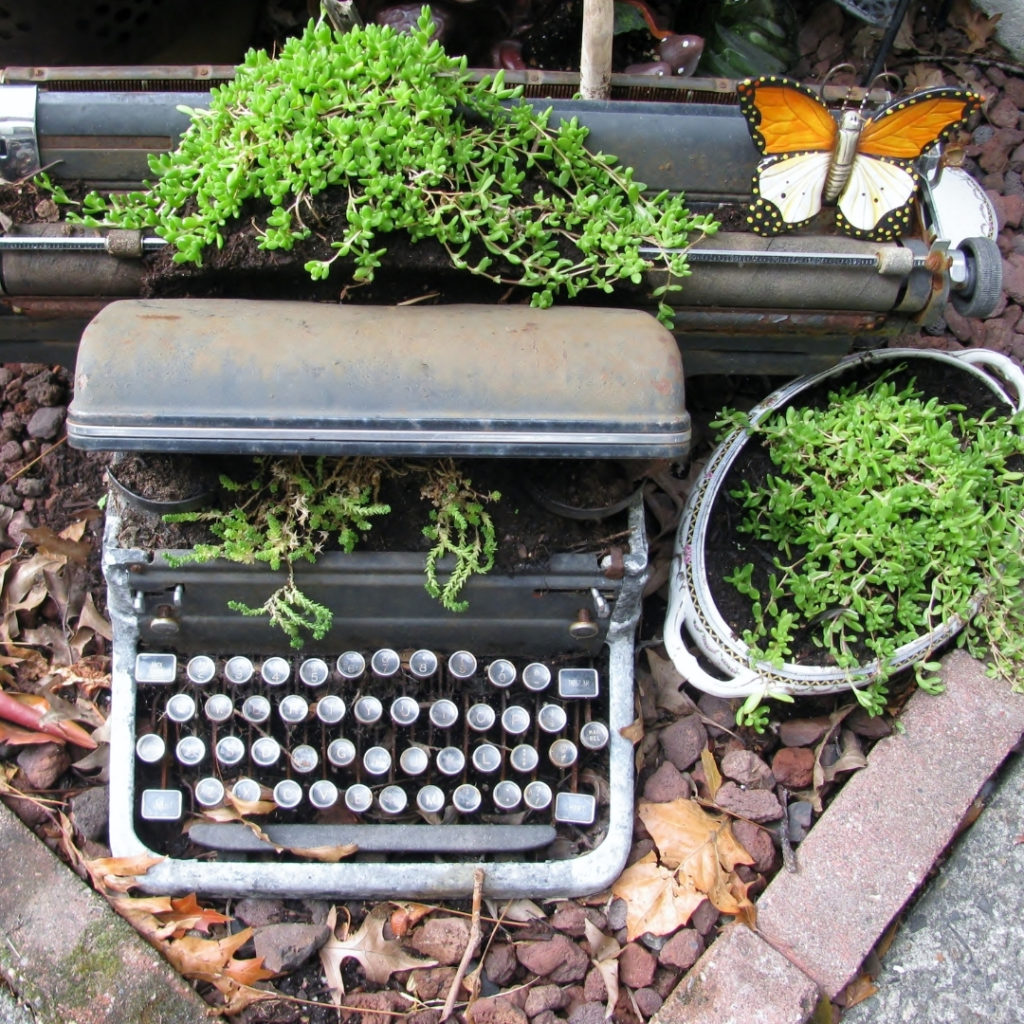
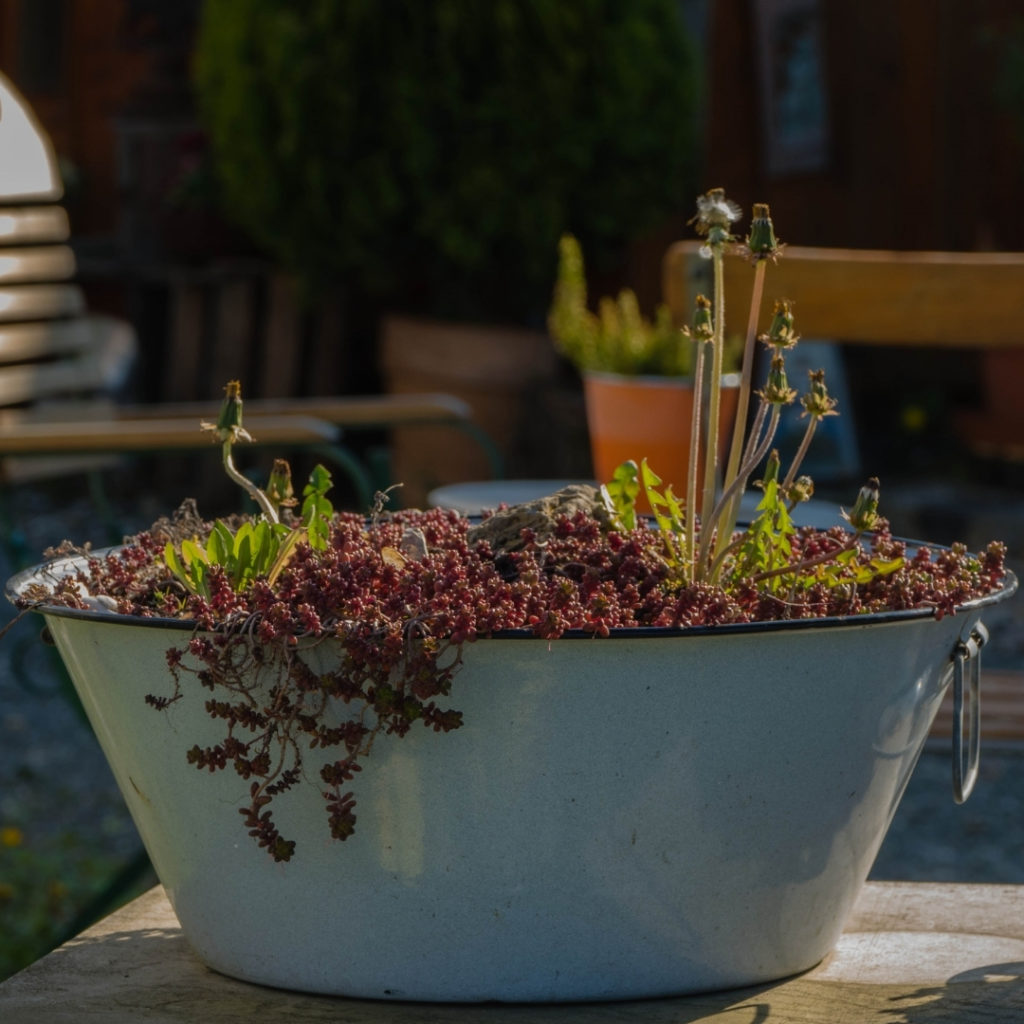
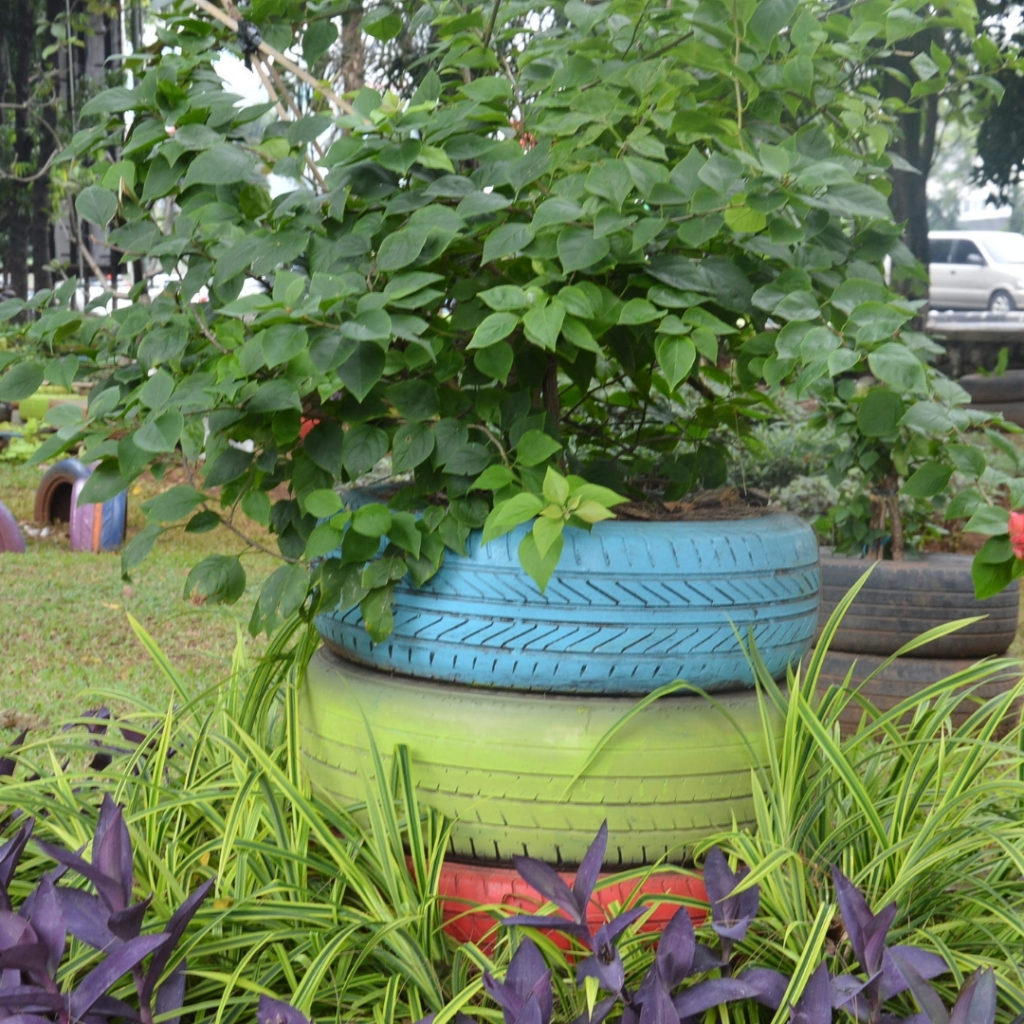
How about tires, buckets, boots, chairs, BBQ’s and so much more. Whatever object you find with space inside with edges, instead of chucking it in the garage awaiting a trip to the tip, think about how you can incorporate it into your garden décor and upcycle something spectacular! Furniture is an excellent place to start and adding a flower bed to your garden brings charm and warmth and you can literately ‘plant’ your flower bed into the garden.
If you don’t have any spare containers or would prefer a more specific planter, we have plenty for you to choose from.
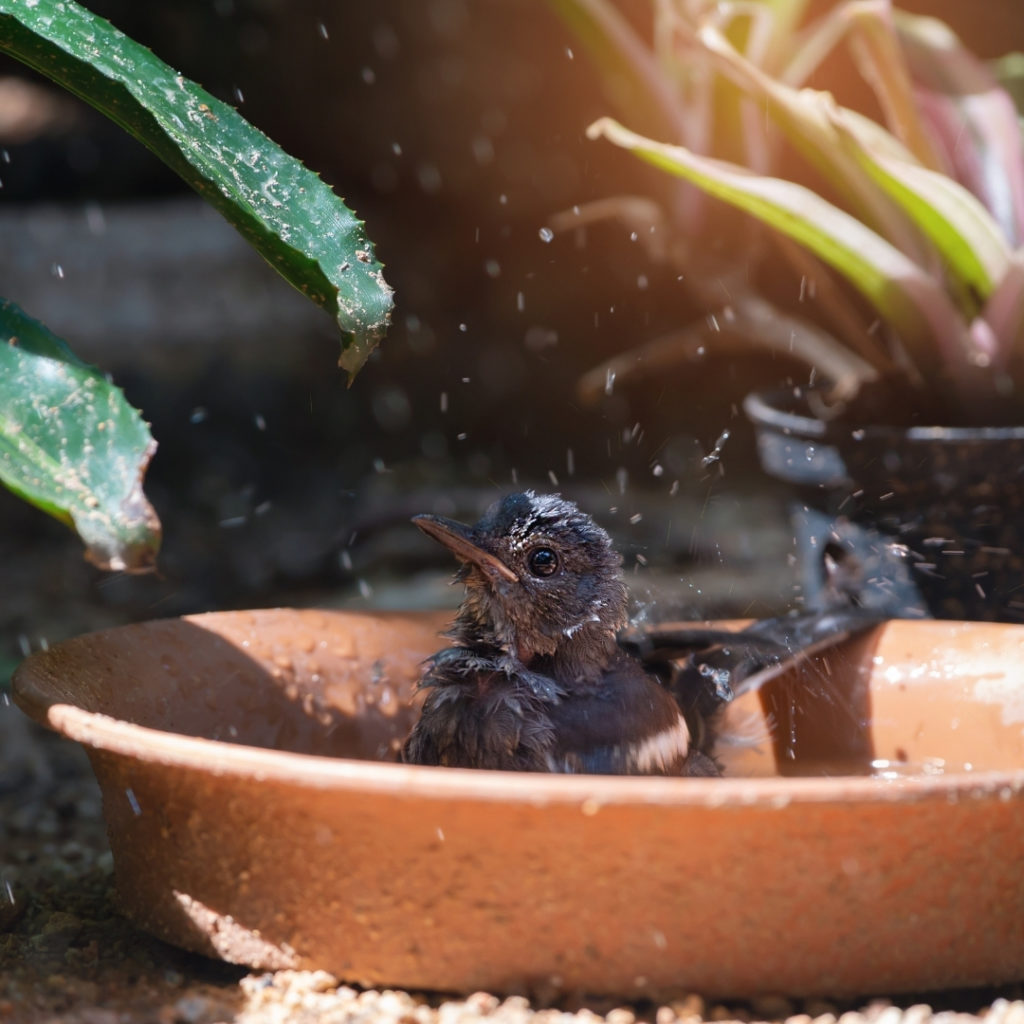
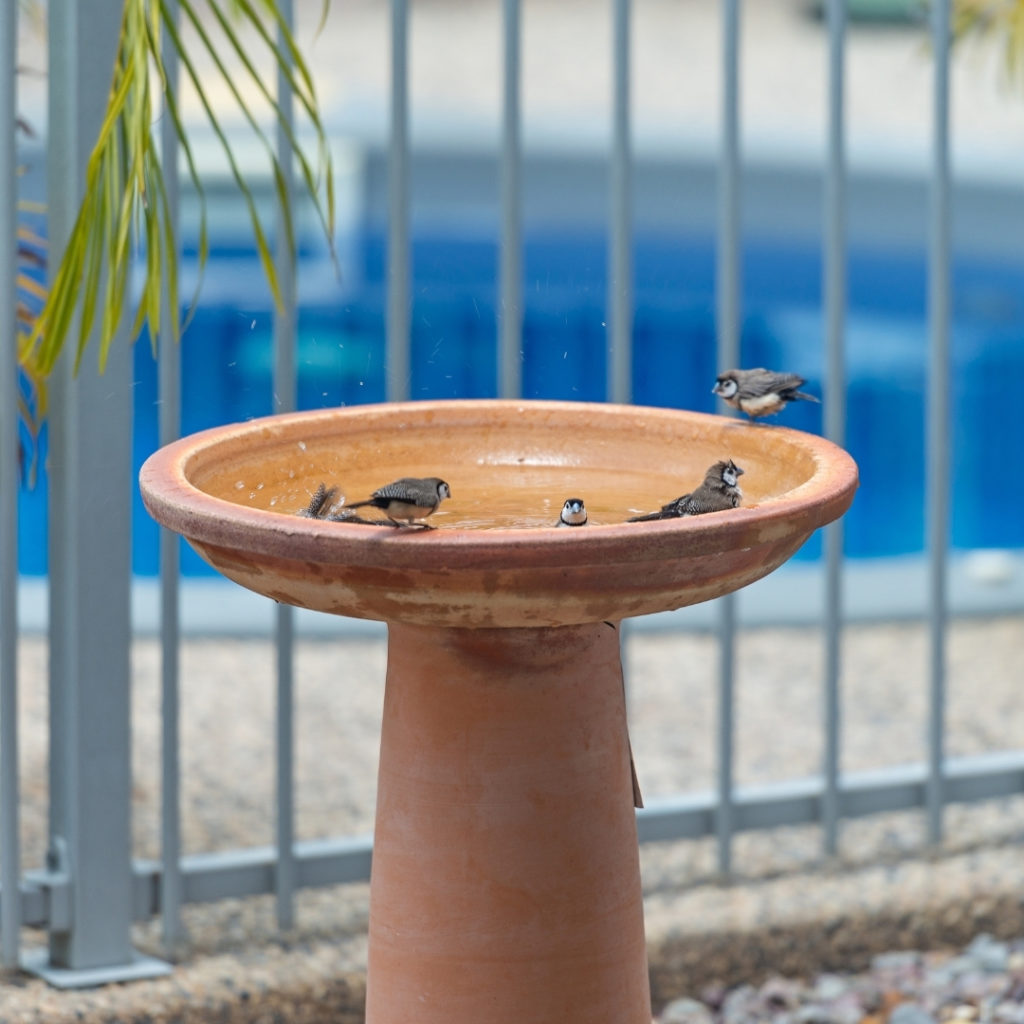
Terracotta Bird Bath
I don’t think there is a much easier bird bath to create than this one, and we’ve got a step by step guide to show you. Freshwater for your garden birds is vital for their survival. In the warm months, it keeps them cool and hydrated in the summer heat. Bird baths are also an attractive feature to any kind of garden or outdoor space and you can build your own without burning a hole in your wallet.
- 1. You will need a tall terracotta pot and a short terracotta dish which are suitable for outdoor use. You will also need super glue and freshwater.
- 2. Turn your terracotta pot upside down and glue around the base.
- 3. Place your sealed dish on top in the centre of the base and wait for the glue to set and dry.
- 4. Water. Remember to keep changing the water for bird hygiene.
And enjoy. The final result should look something like this!
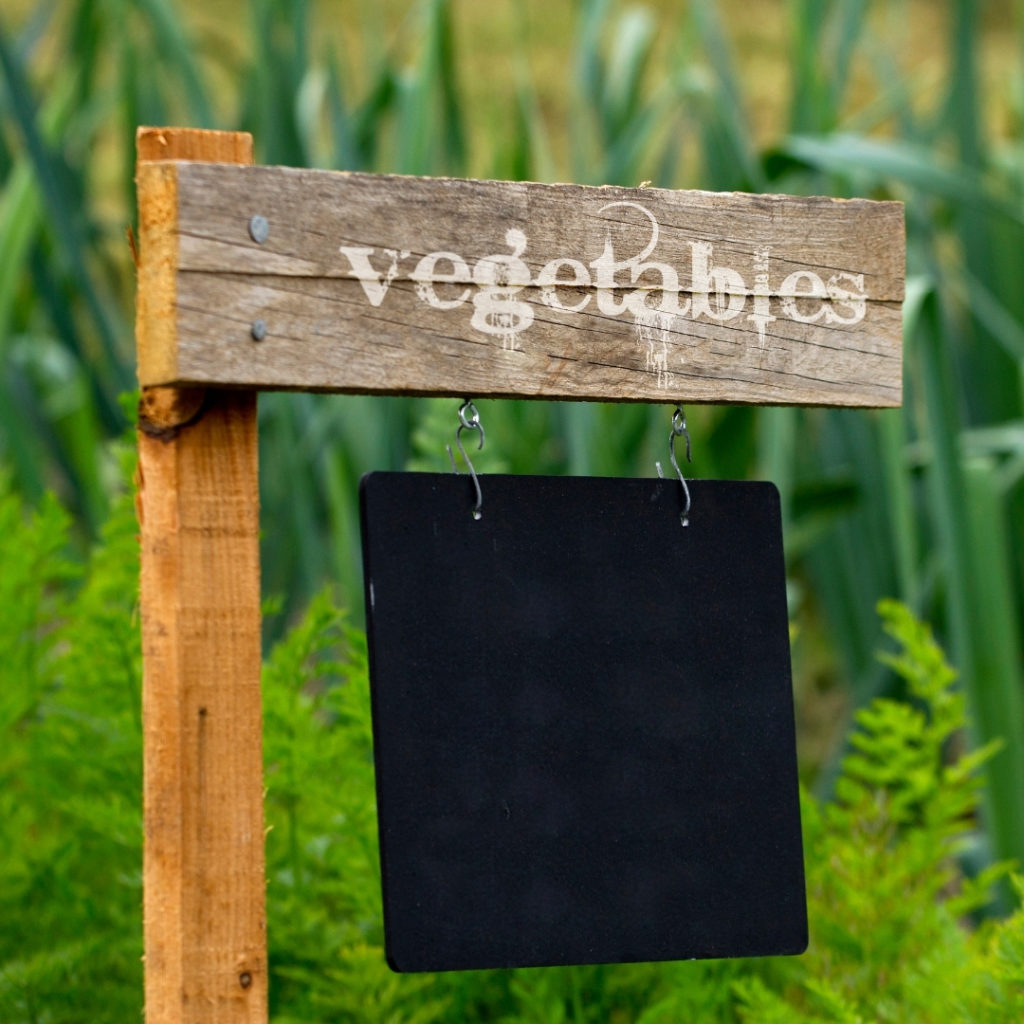
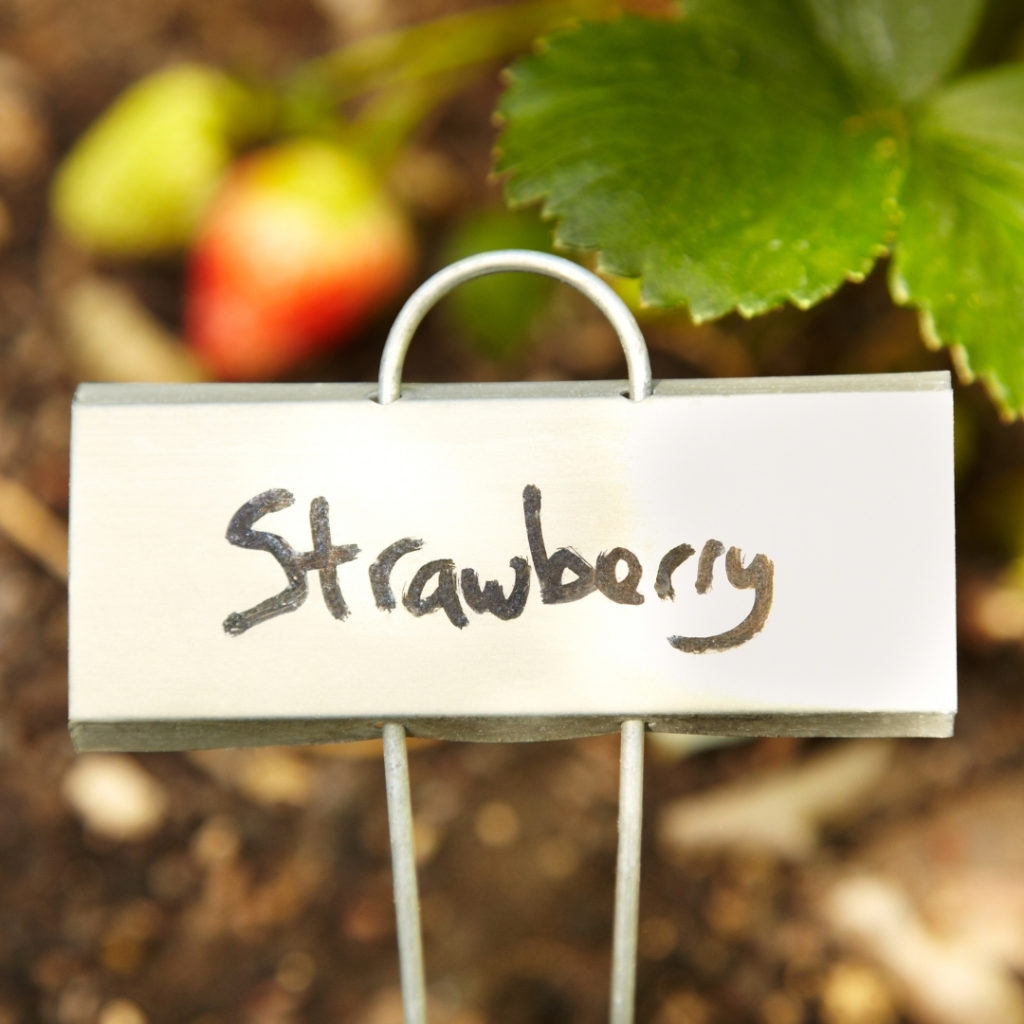
Garden Signs
Do you ever forget what you have planted and wonder what it might be? it’s easily done especially when you grow your own produce and flowers on mass! There are some really easy signs you can create from repurposed wood, metal and a little imagination.
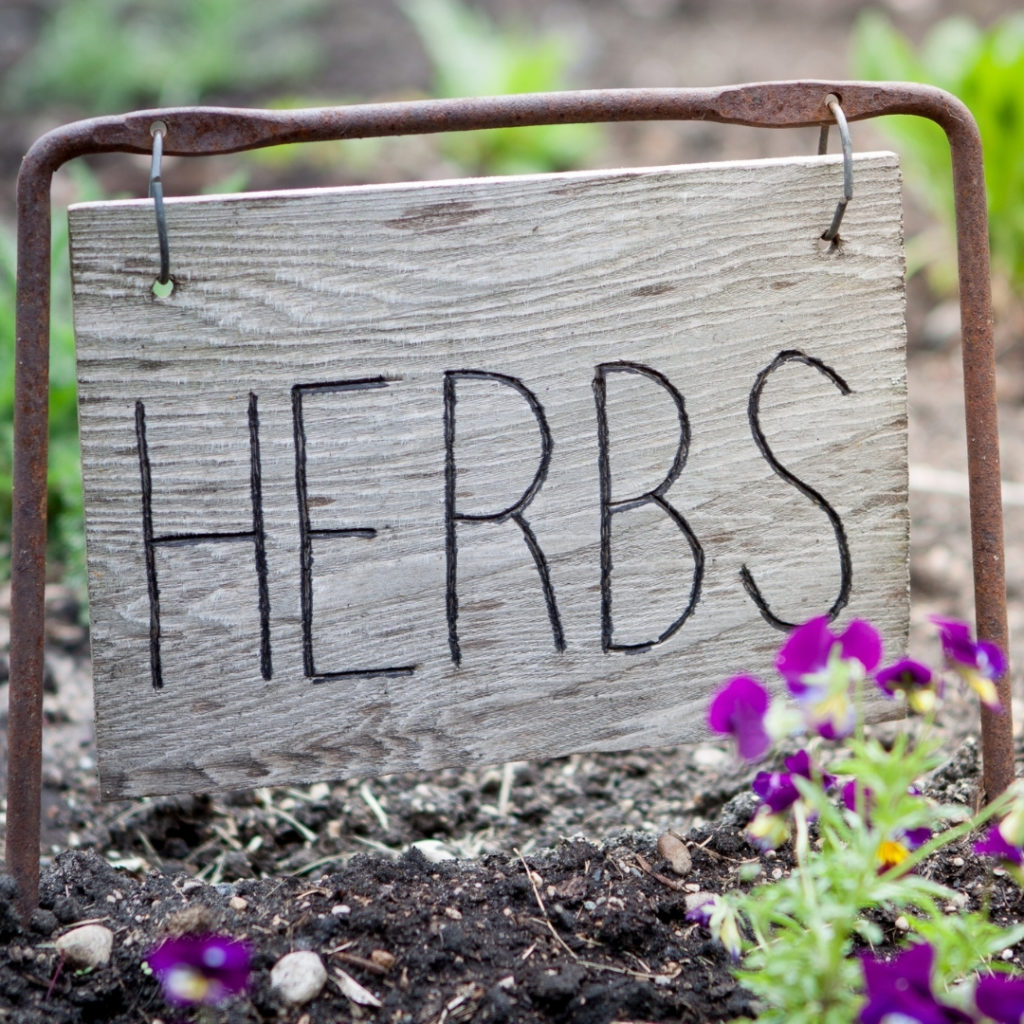
This is example is super easy! All need to do it:
- 1. Collect a piece of metal, preferably a bar, that you can push into the ground and is a suitable for outdoor use. You will also need a piece of wood and thick wire to use as fixtures.
- 2. Carve you desired text onto the sign.
- 3. Drill two holes in the wood and in the metal bar at the same distance apart.
- 4. Weave your thick wire through the holes in the wood and metal bar and make sure to close the wire together.
And there you have it, and quick, efficient but stunning shabby chic sign which sits perfectly in veg patch. Not only does it help indicate what you grow, but is a charming addition to the garden and home.
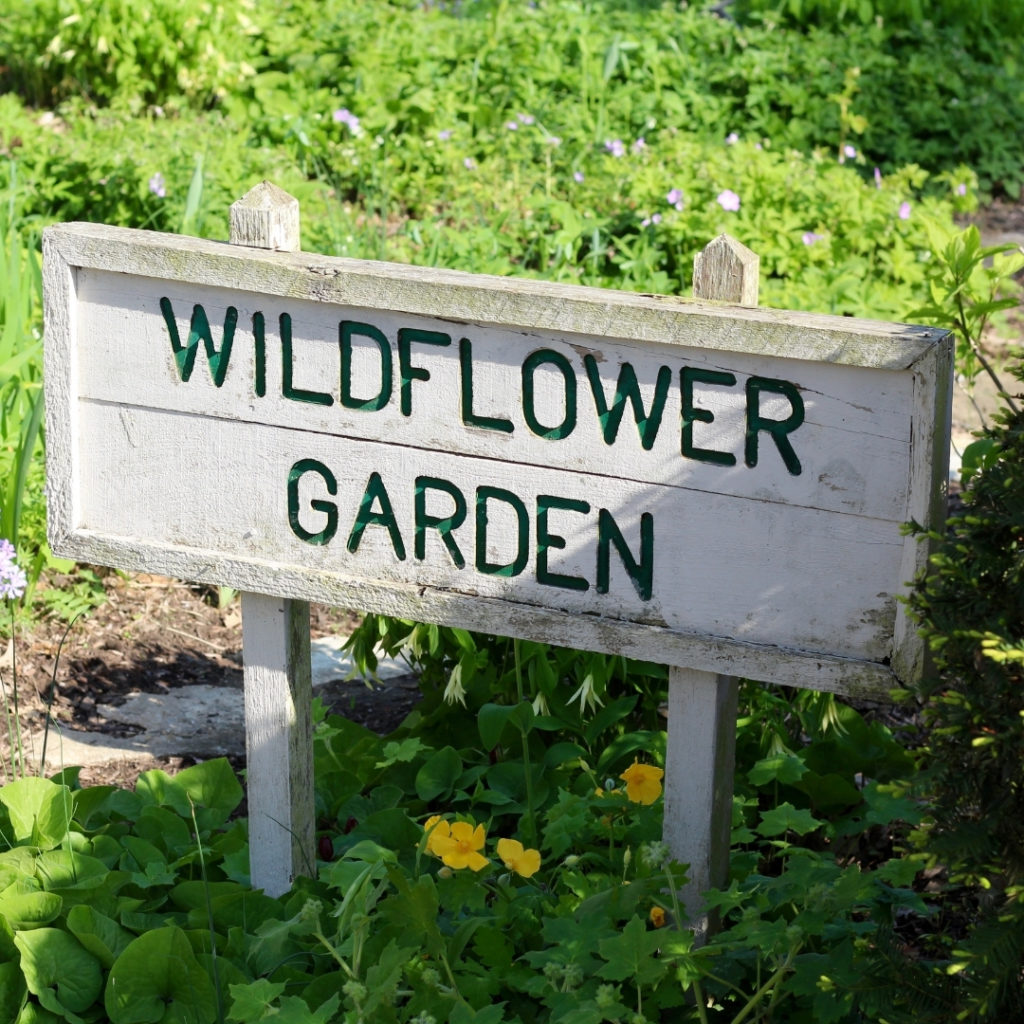
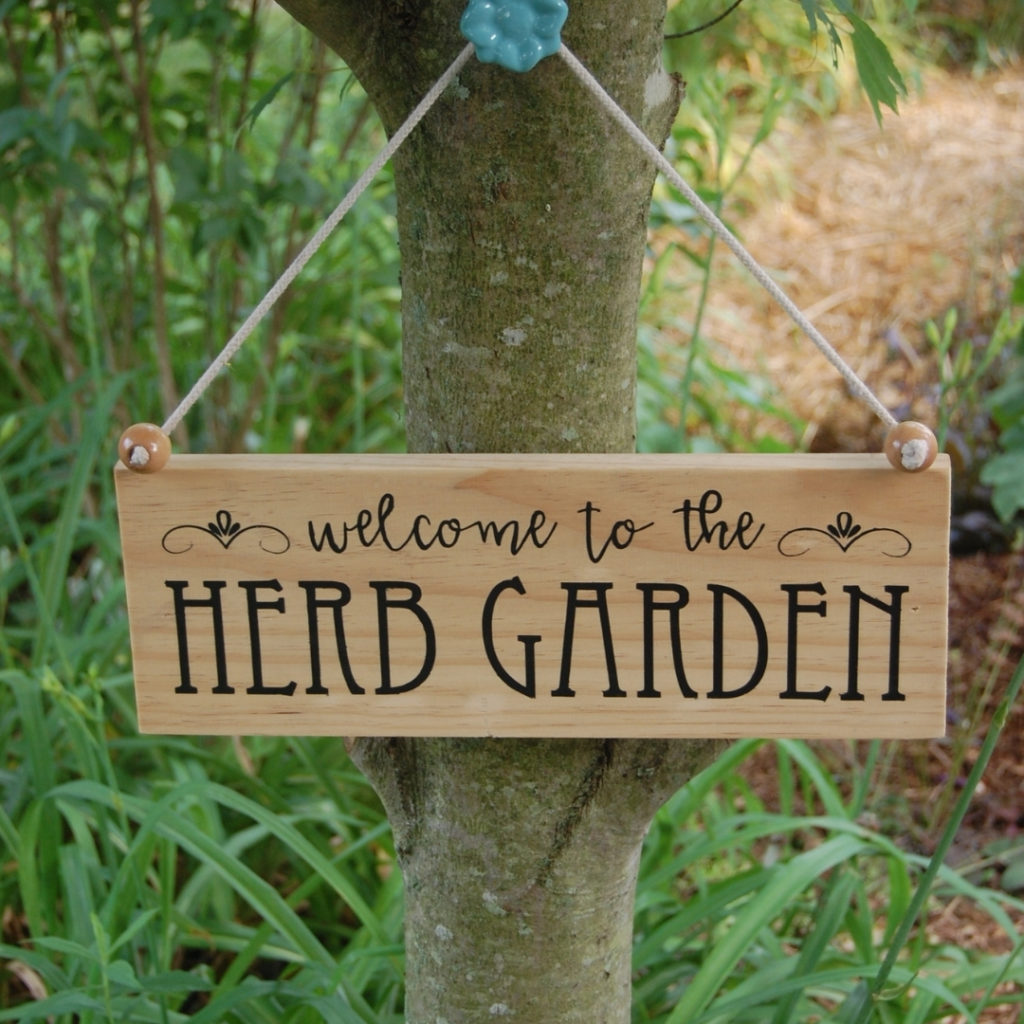
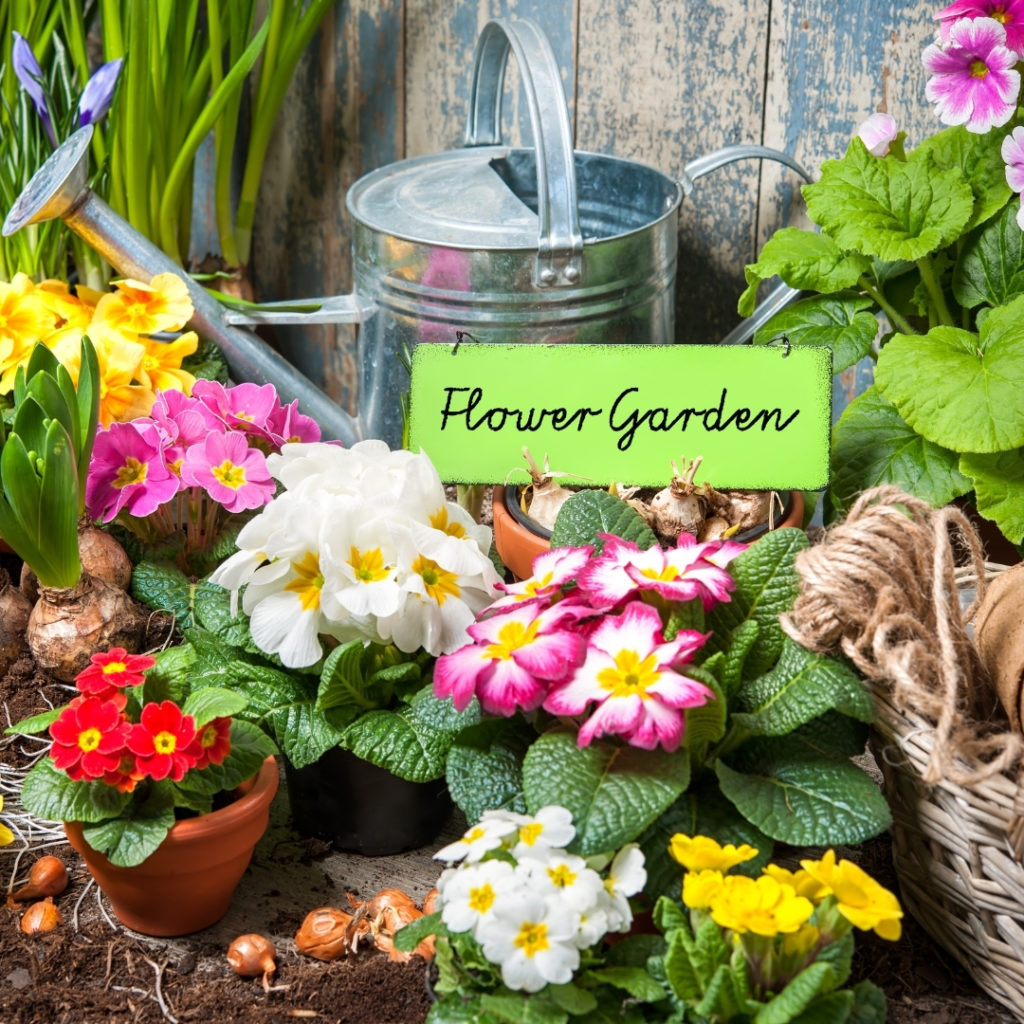
Here are a few more examples to inspire you to get creative with your garden signs!

We hope our lockdown gardening projects for this week have been helpful to you and give you something new to do in the garden. Whatever you doing on plot, make sure to share your gardening activities on our social media pages!
Check out our latest blog posts below!